Knitting the hooded scarf - free guide for a hooded loop

- material
- preparation
- Knitting Pattern - Hooded Scarf
- Short instructions - hood loop
A hooded scarf is not only incredibly practical, but also an absolutely trendy accessory. Knitted from fluffy wool creates a favorite scarf without great embroidery arts, which can be converted into a hood at high temperatures at the same time.
With this guide we show how easy it is to knit a hooded scarf. The scarf is perfect as a beginner project and old knit hare can take the distinctive Ajourmuster with coated stitches in your pattern collection.
material
That's what you need for your hooded scarf
- 50 - 100 grams (1 - 2 balls) fluffy wool with a length of about 90 m to 130 m - 50 grams: z. B. MARIS by ONline Yarn (MARIS is made from 55% virgin wool, 45% polyamide) - 1 skein or SAHARA from ONline Yarn (SAHARA is made from 50% acrylic, 40% wool and 10% camel hair) - 2 skeins
- Knitting needles with needle size 8 mm
preparation
General knitting instructions
Edge stitch: The edge stitch is not knitted at the end of the row, but only lifted off and knitted at the beginning of the next row.
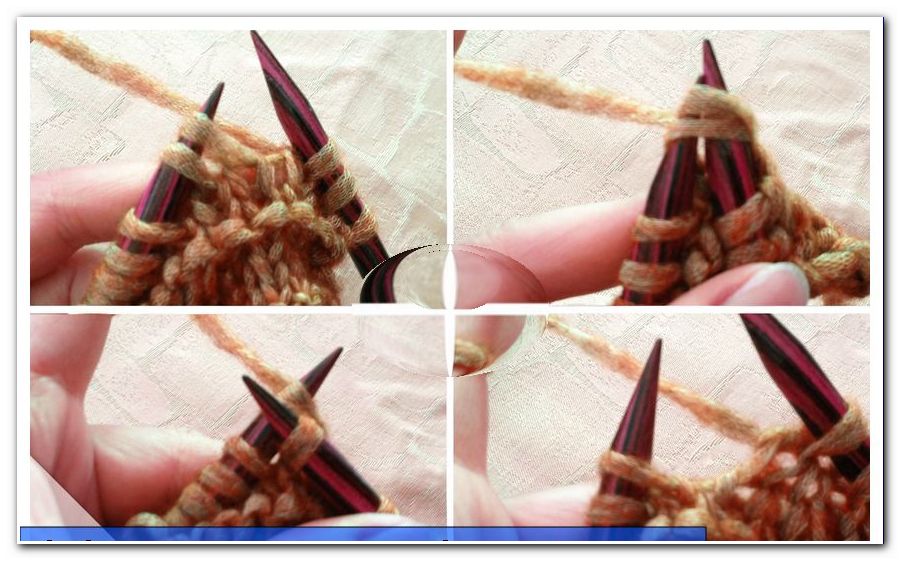
Knitting two stitches together: First lift a stitch of the left needle onto the right needle without pulling it off (doing so from the left to the right as in the right knit), knit the next stitch as normal and lift the one you just lifted Now mesh over the knitted stitch.

Knit 2 stitches together: take 2 stitches together on the needle and knit together to the right
Envelope: As a replacement for the knitted stitches, apply envelopes to the needle so that the number of stitches in the row settle properly.
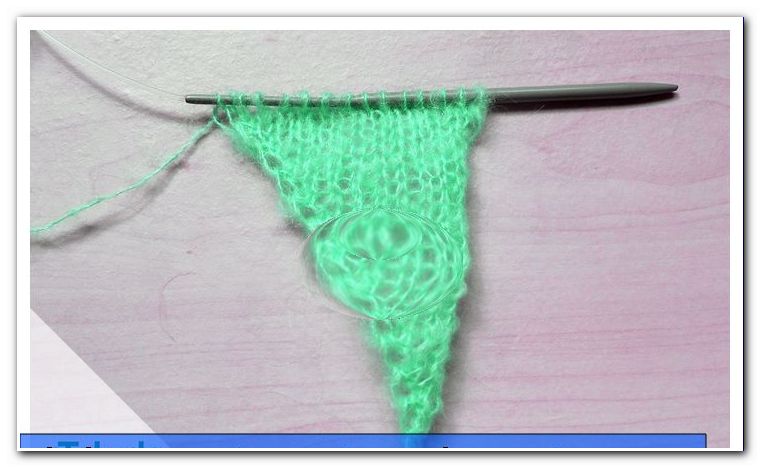
The finished loop has a width of about 28 - 30 cm. It is knitted in width with back and forth rows and sewn at the end to a hose.

Stitch: Knit 1 pattern set = 17 stitches + 2 edge stitches for the stitch sample as follows:
- 1st row: edge stitch, 15 right stitches, edge stitch
- 2nd row: edge stitch, left stitches, edge stitch
- 3rd row: 1 edge stitch, knit 3 x 2 stitches on the right - 1 cover, 1 stitch on the right, 1 cover, 1 stitch on the right, 1 cover, 1 stitch on the right, 1 cover, 1 stitch on the right, 1 cover, 1 stitch on the right, 1 Envelope - Knit 3 x 2 stitches, 1 edge stitch
- 4th row: 1 edge stitch, right stitches (the previous row of envelopes are also knitted on the right), 1 edge stitch
Knit a few rows to estimate how wide your pattern set will be. Here in the example in the instructions are 12 cm.

For the loop, the pattern set is entangled twice in each row. If you knit narrower, or use thinner wool, you can either knit a pattern set more, so make 17 additional stitches.
2nd possibility to knit the loop wider: At the edge, knit 2 right stitches on the right and left. You can increase this area by as many stitches as you want to reach a width of approx. 28 cm.
Knitting Pattern - Hooded Scarf
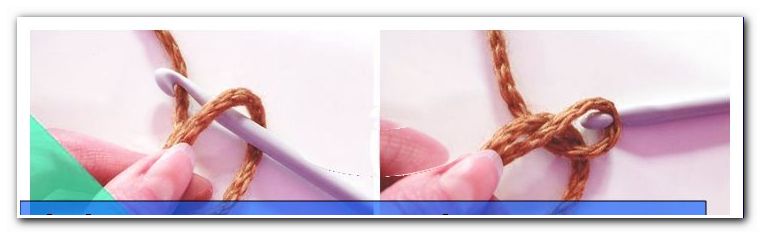
Stroke: Beat 40 stitches.
1st row (front row): edge stitch, right stitches, edge stitch
2nd row (back row): edge stitch, left stitches, edge stitch
3rd row (front row): 1 edge stitch, knit 2 stitches on the right, knit 3 x 2 stitches on the right - 1 turn-up, 1 stitch on the right, 1 turn-up, 1 stitch on the right, 1 turn-up, 1 stitch on the right, 1 turn-up, 1 stitch on the right, Knit 1 turn, 1 stitch right, 1 turn - knit 3 x 2 stitches together, knit 3 x 2 stitches on the right - 1 turn, 1 stitch right, 1 turn, 1 stitch right, 1 turn, 1 stitch right, 1 turn, 1 stitch right, 1 envelope, 1 stitch on the right, 1 envelope - knit 3 x 2 stitches, knit 2 stitches on the right, 1 edge stitch
(which corresponds to: 1 edge stitch, 2 stitches on the right, 2 pattern sets, 2 stitches on the right, 1 edge stitch)
1 of 2

Row 4 (back row): 1 edge stitch, right stitches (the previous row is also knit on the right), 1 edge stitch

Repeat Series 1 - Series 4 over and over again. When your knitting has reached a length of about 60 cm, the hood loop is ready and you can chain off all stitches in a 4th row.

Now the loop only needs to be sewn together and you can wear it both as a scarf, but also as a hood over the head.

For a double loop you can easily extend your knit by double the number of rows to about 120 cm. You can then either wear this loop around your neck twice or leave a part as a neck brace and pull up a part as a hood.

Short instructions - hood loop
- Cast on 40 stitches
- Knit the hooded scarf in the following order:
1st row: edge stitch, right stitches, edge stitch
2nd row: edge stitch, left stitches, edge stitch
3rd row: 1 edge stitch, knit 2 stitches on the right, knit 3 x 2 stitches on the right - 1 cover, 1 stitch on the right, 1 turn-up, 1 stitch on the right, 1 turn-up, 1 stitch on the right, 1 turn-up, 1 stitch on the right, 1 turn-up, Knit 1 stitch on the right, 1 turn - 3 x 2 stitches, knit 3 x 2 stitches on the right - 1 turn, 1 stitch on the right, 1 turn, 1 stitch on the right, 1 turn, 1 stitch on the right, 1 turn, 1 stitch on the right, 1 Envelope, 1 stitch on the right, 1 envelope - knit 3 x 2 stitches, knit 2 stitches on the right, 1 edge stitch
4th row: 1 edge stitch, right stitches (the previous row of envelopes are also knitted on the right), 1 edge stitch