Renew Kitchen Front - DIY Guide to Exchange

- Reasons for an exchange
- Variants and material - these costs arise
- Kitchen front renew - the variants
- Remove the door
- Replace the door completely
- Replace front on old door
- Furnish the kitchen front with foil
- Lacquer kitchen front
- Insert and set the door
- Profiles and strips
- Change worktop
Especially on the kitchen fronts, it is noticeable when the kitchen is getting old. But the kitchen front can be exchanged today quite simply. So everyone thinks you have a whole new expensive kitchen, even though you have just renewed the fronts. We will introduce you to the different ways in which you renew your kitchen front and explain in the manual how to exchange them.
Whether you want to completely replace the fronts or work them yourself, choose the variant that suits you best and promises the best results. There is a lot of work between painting the kitchen fronts and covering them with a brightly colored paint film. These variants are by no means as expensive as, for example, stainless steel or glass fronts. But it is also very robust and relatively cheap if you buy melanin fronts and assemble yourself. How to replace prefabricated fronts, we show here in the manual. Also an instruction for the reference with a high-gloss lacquer foil we show here.
You need this:
- doctor
- screwdriver
- Orbital sander, drill
- Wood drill, pot drill
- jigsaw
- Scissors, craft knife
- Foam roller, paint tray
- Glass cleaner / vinegar
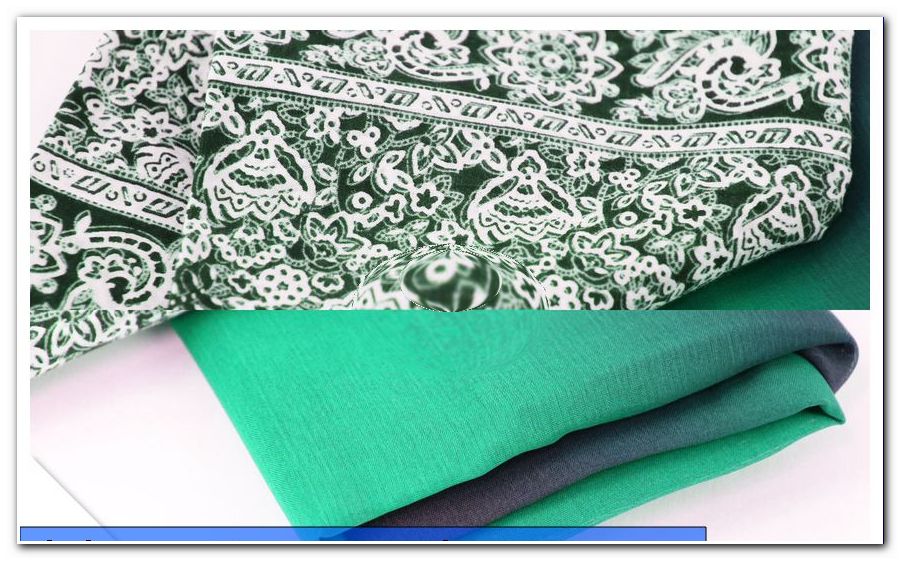
- self-adhesive film
- complete fronts
- Hinges / pot bands
- handles
- New doors
- Decorative panels, melanim panels, glass panels
- Installation glue
- double-sided adhesive tape
- abrasive paper
- paint
Reasons for an exchange
Fronts that are quite flat can be worked up relatively easily. However, uneven fronts that are in cassette optics, for example, can not be covered with a clean foil. Even to cut these fronts, a lot of preparatory work is necessary. Therefore, such fronts are of course replaced more frequently than completely smooth fronts. The moldings, which run partially around the top of the cabinets, should either be replaced or painted.

If you switch from such country house or cassette fronts to smooth surfaces, you should also use smooth strips as end strips. Check if it is even necessary for the new style to re-attach such strips around the cabinets. Perhaps the new style of open shelves on the wall cabinets will fit better, as the bar would rather disturb. However, if you have bothered by the open space above the cupboards, you can use a few slats and boards to work in doors with the same new fronts. So the kitchen is really completely new and you still gain a lot of storage space.
Variants and material - these costs arise
If you really want precious fronts, glass fronts are good. However, many manufacturers sell glass fronts whose material is in fact made of acrylic. This material is far from being as robust and heat resistant as a real glass front. The simplest variants are lacquer or foil fronts. These can be renewed very well by a beginner himself. If you buy large sheets and cut them yourself, you should include the blend in the calculations.
- Lackfronten about 15 Euro / m²
- Foil fronts about 20 Euro / m²
- Wooden fronts about 40 Euro / m²
- Stainless steel fronts about 200 Euro / m²
- Melamine fronts about 80 Euro / m²
- Acrylic fronts about 80 Euro / m²
- Laminate fronts about 60 Euro / m²
- Glass fronts about 300 Euro / m²
Who needs a craftsman ">
Kitchen front renew - the variants
The basic steps in our manual are always the same for the three variants, the doors to renew or change. Therefore, you will find the different variants under point 2.
Remove the door
No matter which variant or which material you would like to have for the kitchen fronts, you should first remove the doors. You can not make a clean change to a built-in door. Loosen the screw on the pot straps and carefully remove the door from the cabinet.

Tip: If you do not want to change the door from the inside, this is the opportunity to thoroughly clean the door of grease. This pure vinegar is very good. But you must then wipe something with a damp cloth without detergent. You should also remove the handle while working and put it aside.
If the door is painted or covered with a foil, you should fill in the holes in the handles if other new handles are to be attached later. Use wood putty and grind it with the door after drying.

Replace the door completely
If the old door is disposed of, you should remove the hinges and use it for the new door. If you want to incorporate new pot bands, also the counterparts in the cabinets must be renewed. Different models of pot bands do not always fit perfectly together. The door might not be adjusted later. For a new door, note the distance between the pot hinges and where they are fixed in the cabinet. Measure the positions exactly.

Tip: Buy a suitable drill bit for drilling out the holes for the pot bands. This little purchase will save your nerves if you want to change the doors. In addition, the work is much cleaner and more accurate. As a result, the hinges are really perfect later on and the doors are easy to adjust.
If you want to use a frameless glass front, you usually have to change the arrangement of the pot straps inside the cabinet. The holes for the hinges are often predetermined in these glass elements and can not be changed.
Replace front on old door
Doors with a flat surface can be covered with a new decorative or melamine board. Other especially heavy decorative panels made of stainless steel or real glass can be attached to the old door with special jewelery screws. Then a hole is drilled in the door at each of the corners, through which the special screw is inserted. At the back or inside comes to the screw a fuse.

Tip: The special screws for decorative panels are available in many different designs. You should make sure that the screws or rivets match the new door handles. So the screws do not seem so annoying, but belong entirely to the new kitchen design.
If you have to cut the decorative panels yourself, there is often a bit of a hard transition. Here you should work a bit with sandpaper. For many such systems, there are also still edging, which fit exactly to the common kitchen door thicknesses. These strips are mitred and slotted around the edges of the kitchen door. The strips are fastened with assembly adhesive.
Tip: If glass or acrylic fronts with a translucent look are to be placed on the doors, it is important to paint the door in matching colors so that the old, unwanted color does not show through later. In contrast to acrylic, glass is much scratch-resistant as a material. Similar to plastic lenses in a pair of glasses, the acrylic front scratches quickly during normal daily use.
Furnish the kitchen front with foil
Self-adhesive films are available in every hardware store. The films are not only cheap, but also easy to grow. There are countless decors on the films, which are usually very easy to care for. Foil fronts, however, are far from as resistant as, for example, wood or melamine fronts. If you come with the hot steam to the film, it will be damaged and may need to be renewed. Scratches are also relatively easy in the film and are clearly visible.
The surface must be level and free of grease. When in doubt, you can sand the surface with fine sandpaper and a sander. Otherwise you should clean the surfaces with vinegar or a glass cleaner. Always work on a solid flat surface, such as the countertop or the kitchen table. Place the film roll at the bottom of the door and pull back a few inches of the protective film. Now smooth the foil. Remove air bubbles by gently pulling the film back. Always work from the middle of the door to the edges.

Tip: If working with the whole roll is too fiddly, you can trim your slide with scissors or a cutter beforehand. However, you should plan sufficient supernatant. If possible, the foil should cover the edges of the door. If you do not care about the appearance of the inside of the door, the film will hold even better if it is also hit around that edge and then ends on the inside.
When pre-cutting the foil, you can work with the scissors. When you have finished the film completely, you should cut it clean at the edges of the cabinet door with a sharp cutter. Then press the foil firmly with the squeegee, especially at the edges.
Lacquer kitchen front
First of all, the question arises, whether you want matte or glossy lacquer. The cost of this change is also very low, but the workload is much higher. The surfaces must first be sanded well. With a high-gloss surface, you can work up to a grain size of 240. With a matt-finished surface, you only need to grind up to a grain size of 150 grit. In the kitchen, a clear hardening finish is absolutely necessary for the high-gloss finish. The matt paint is not quite as resistant as it lacks the hardener and its surface always remains slightly porous. However, eliminates the annoying fingerprints that need to be brushed away on a shiny surface constantly.
Tip: If possible, use a high-quality paint for your kitchen fronts. Acrylic paint can simply be diluted with water to create a nice surface, since you can paint several thin layers. Between the individual layers you work, especially if you want a shiny surface, additionally with very fine sandpaper.

Apply the paint thinly to the sanded surface with a fine foam roller. You apply as many as two to three layers of paint to achieve a good coverage. Always allow the surfaces to dry well in between.
Insert and set the door
The new door is attached to the pot straps again. Do not press the door very deep into the cabinet, but look how the door is evenly in front of the cabinet frame. Then tighten the mounting screw on the strap. If the door is still uneven, you can adjust the top and bottom of the small distance screw. Be patient, every door can be adjusted perfectly. When in doubt, start from scratch and take the door out again. You may have switched fronts and one door is actually in another place in the kitchen. You will find out how to correctly set the doors on the cabinet in our article: "Mounting cabinet doors - setting the furniture hinges correctly" .

Tip: Use a small spirit level to check the vertical and horizontal orientation of the door. Nothing is worse than a kitchen front that makes you dizzy when you look at it. The doors of the kitchen front should also be all the same height. You can also check this point with a spirit level.
Profiles and strips
The profiles and moldings of old kitchens usually do not change after changing the fronts. If you've deleted the fronts, it's easy to swipe the moldings as well. With new wooden doors, you create strips of the same wood that match the new look. But you can also completely omit the strips as described above.

Tip: In order to adapt the plinth decor as well, you should either purchase film that matches the countertop or the new door fronts and stick it simply on the old plinth panel. The second variant is decorative laminate panels that you can cut yourself. These plates can be fixed with double-sided adhesive tape or assembly adhesive from the cartridge.
Change worktop
Countertops are available in different depths and widths for the kitchen. If you also want to replace the worktop, do not dispose of the old one right away. You can still use them as a template for the cut-outs of sink and stove. If the panel needs to be assembled in the corner, you can also use the corner joints that are under the old panel again. However, there are new corner joints in the hardware store without any rust.
Tip: Cutting the recesses under the worktop is a bit difficult, but you can also make a template on the old plate. The pot drill you used for the hinges is also suitable for the recesses in which the corner joints are screwed.
Tips for quick readers
- Check the quality of the old kitchen fronts
- choose new fronts and matching strips
- Replace doors completely
- Remove door - possibly remove hinges
- Remove handle
- Repaint the front, remove or replace it
- Replace handles on doors
- reinstall new door / front
- Set doors
- Obtain plinth panel with decor panel / foil
- Replace strips or repaint
- Adjust side decor of the kitchen
- Change worktop if necessary