Remove tile joints - skilfully scrape out or mill out

- Manual repair
- Milling large areas
If the tile joints have become unsightly, at a certain point cleaning measures simply do not use anything anymore. At least now it is time to remove the old joints and replace them. Sounds complicated, but with the right tool but easy to handle. There are two ways to renew tile joints, you can either scrap or mill out old material. Replace tile joints - no problem on your own
More than 90 percent of all tile joints are white and therefore always at risk of simply looking ugly and old. Do not panic, in this case you do not have to remove the complete tiles, but you can scratch out or mill out the old joints and replace them. Craftsmen are often priceless, but with the right tools you can easily do the work yourself. When removing old joints, the tiles remain untouched and can remain in the room. This is particularly useful if the tiles are actually still handsome, but the appearance is deteriorated by old joints.
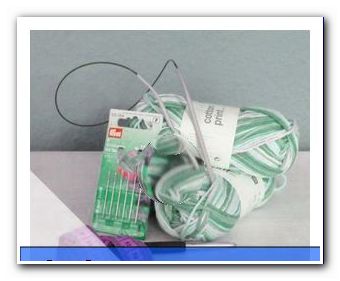
You need this:
For smaller areas or lack of options scratching the existing tile joints with a so-called Fugenhai (Fugenkratzer) makes sense. Although this method of work is a bit more laborious and takes longer, it ultimately produces an equally acceptable result. Ideally, the manual joint removal, if you only want to replace tile joints and restore. Before you can start, make a note of the following tools on the shopping list:
- masking tape
- cover
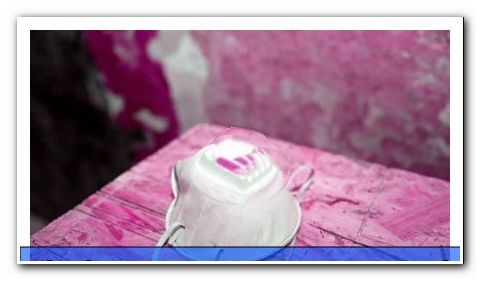
- Dust mask
- Sponge and dry rag
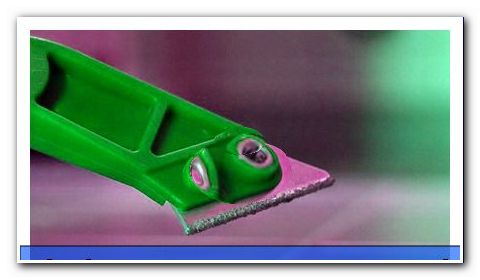
- scraper
- Vacuum cleaners / hand brush
- working gloves
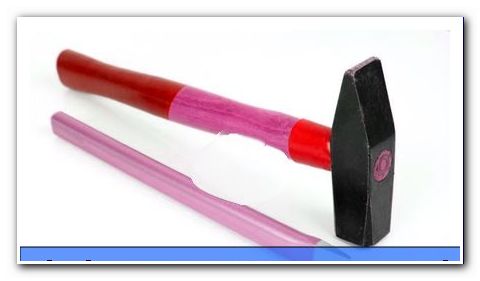
- Hammer and chisel
- box cutter

If you want to replace the tile joints in an entire room, working with the manual scratch is very time consuming. In this case, it is worth to get a router because you can work faster and more efficiently here. The work steps are almost identical, only the tool used is different. After you have equipped yourself with the basic materials, you still need the following things: Joint milling machine or normal milling machine with joint attachment.
Manual repair
Scratching out joints is a bit more strenuous and tedious than electronic removal, so you should only use this method on smaller surfaces. If you have to fill your bathroom with new joints before, the handle is more useful to the router. You should prefer to use a special gouge of the alternative with a hammer and chisel, because the latter tools are in danger of damaging the tiles. Tile scrapers can be equipped with blades of different lengths, so that you can easily scratch out even narrow joints.
Tip: Always have spare blades ready, as they can become dull with prolonged use and make your work more difficult.

The work preparations:
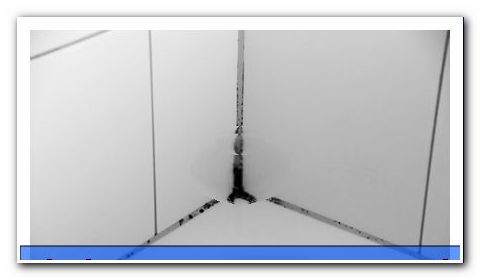
Before you start working, you should remove all small parts from the room. Removing tiles creates a lot of dust so you should cover furniture and fixtures if they can not be moved out of the room. Be sure to cover also light switches and sockets, because the dust likes to settle in the cracks. Before you start, the tiles need a complete cleaning, because the surfaces should be free of grease.
Tip: Use a commercially available dishwashing detergent for cleaning because it has a high grease dissolving power.
It is necessary that you wear respiratory protection during this work, as a high dust formation is to be expected.
Manual cleaning with a joint scraper
If you have opted for the method with the Fugenkratzer, you should wear work gloves, otherwise it can quickly lead to blistering. Always start at the top of wall tiles, so that already scraped joints do not come into contact with dust anymore. The joint scraper is ideally suited to rid corner tiles of old mortar, since you can apply the scratch directly to the edge and work through the joint. When scratching floor tiles, work from the back of the room, starting from the front. Again, you should always start on one side and work your way to the end of the series. Carefully vacuum each row with the vacuum cleaner to remove excess dust.
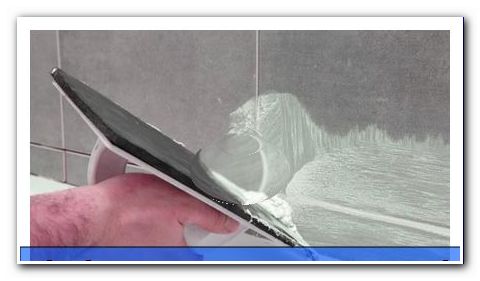
Start on one side of the tile and scratch a hole in the first joint. You can now use this as a starting point. Always remove the entire joint from side to side with even movements. Make sure not to scratch too deeply, a scratch depth of one centimeter is sufficient for renewal. If you have accidentally scratched too deeply, you can later compensate for this depression with mortar. Stubborn mortar residues can be loosened carefully with the carpet knife and then scratched out. Begin with the loosening at the edge of the fixed mortar part and finally dispose of the remains with the joint scraper.
Always move the joint scraper in the middle of the joint so that the sides of the tile are not damaged. Work in rows from one side of the wall to the next and then start with the next row. If the joints in one row have been scraped out, use the vacuum cleaner to suck the remaining mortar out of the groove and scratch again until a uniform groove has formed. Wipe the dust off the tile with a damp cloth and then dry it well to prevent dust from settling in the scraped grooves.
Tip: With a hand vacuum cleaner, you can catch the dust during the scratching process.
Tips at a glance:
- Cover all furniture carefully
- Work with respirator
- Scrape the mortar in rows
- Loosen stuck mortar with the utility knife
- Scratch depth of one centimeter is sufficient
- Vacuum finished row with vacuum cleaner
- Work from top to bottom
- Remove finished tiles from dust
Milling large areas
If you want to remove and replace multiple tile joints, you should mill them out if possible, as this will save you a lot of work. With a tiler you can quickly rid your old or your old bathroom of your entire bathroom or kitchen. Note that the use of a grooving machine requires electrical connection in the apartment.
The work preparations:
Before you can get started, you should remove all transportable furniture from the room to prevent the deposition of dust. It is necessary to wear a respirator while working to protect your airways from dust.
Clean the tiles in advance and ensure that there are no more grease deposits.
Tip: Oily kitchen tiles can be cleaned with a detergent soap if left to work for 30 minutes.
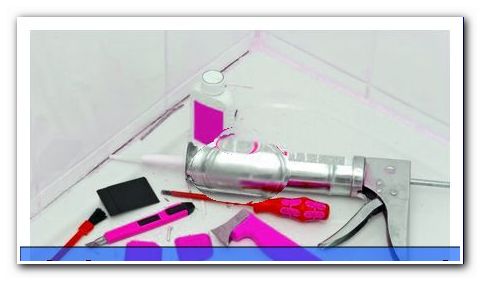
While using the device you should wear gloves for your safety. Before you start, cover your existing furniture with foil. Sockets and light switches should also be protected from dust with masking tape and foil. Remember, however, that you need at least one outlet for the electronic device. If you have a hand vacuum cleaner you can use it to catch trickling dust during milling.
The application of the joint cutter
When working with the jointer you should always start in a corner of the room at the top. If you work your way from side to side, you have the advantage that already cleaned grooved grooves will not become dusty again. Place the grooving tool in the center and move it from side to side with a steady hand. Repeat the process in a joint until the largest proportion of mortar has been removed. Residues can be loosened carefully with the carpet knife and then scratched out with the joint scraper.
Tip: You can borrow a jointer in many hardware stores and specialist shops.
When cutting tiles, you should work in rows and first clean one row completely, before you start with the next. With the vacuum cleaner you remove mortar residues and loose dust. Solid dust can be removed with a brush and then vacuumed. Corner joints, which you can not mill out with the machine, must be scratched out manually with a tile scraper or the utility knife. Again, you should remove afterwards with the vacuum cleaner remaining dust and mortar. If you have freed a number of remaining mortar, remove dust particles from the top tiles and dry them well, so that no further dust can settle. When milling joints on the floor, you should always work from left to right and from back to front.
Tips at a glance:
- Cover the furniture well
- Use a respirator
- Cleaning the tiles required
- First scrape corner tiles manually
- Move the device in the middle
- Milling from side to side
- Remains are removed with the carpet knife
- Vacuum finished joints with a vacuum cleaner
- Loosen stuck dust with a brush