Painting tiles - Instructions for floor and wall tiles
- Information about the paint
- Painting tiles made easy
- Step 1: Check joints
- Step 2: Clean tiles
- Step 3: Prime the tiles
- Step 4: Let it dry
- Step 5: Paint tiles
- Step 6: Let it dry
- Step 7: 2nd paint job
- Step 8: Let tile color harden
- Step 9: Edit joints
- Tips for quick readers
You want to give your old tiles in the bathroom or in the kitchen a new face - without building rubble and consuming renovations ">
Colors that were still fashionable in the 60s and 70s make the bathroom or kitchen look really old now. High time to change something. If you want to give your tiles a new design, but are afraid of a time- and cost-intensive bathroom or kitchen modernization, so you still have a good opportunity to bring a fresh breeze: by painting the tiles. For this purpose, there are special tile paint in different colors. The re-tiling of the walls and / or the floor is missing. An excellent variant, which is especially recommended if the old, now unschönten tiles have no serious damage. In order to paint the tiles, you do not need any prior knowledge of craftsmanship - which means that even inexperienced DIY enthusiasts can easily realize the project "painting tiles".
Before we start with the detailed instructions, we will provide you with some basic information that you should pay attention to when painting your wall and floor tiles.
Information about the paint
If you live in a rented apartment, the very first step is to contact your landlord to obtain written permission from them. The painting over the tiles can not usually be undone so that the owner of the apartment must be in agreement with your project. Anyone who owns the apartment is, of course, independent of the opinion or permission of third parties and can act at will.
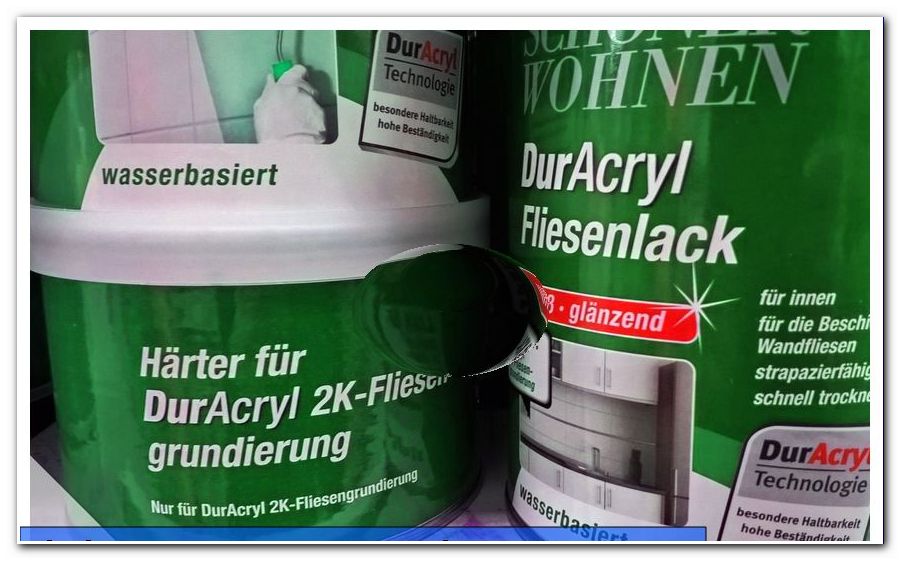
The paint job is composed of two layers. For both the primer and the final coat, it is best to use epoxy paint. These are two-component systems, formed by paint and hardener. The components are thoroughly mixed with each other and then quickly applied with a roller or a brush. Epoxy resin paints are characterized by their particular durability and can be mixed by the specialist dealer, for example in the hardware store, in the desired color shade.
Tip: In the trade, you will also find practical tile lacquer sets that contain all the ingredients you need to paint your wall and floor tiles in the bathroom and / or in the kitchen.
In principle it is possible to paint all tiles. However, floor tiles are subject to a special load, so the paints used must be correspondingly robust. When buying, pay attention to notes such as "only for wall tiles" or "only for vertical tiles". Such products are commonly suitable for wall tiles only. However, there are now also special two-component paints, which are designed not only for wall but also floor tiles. Inform yourself comprehensively before you start working on your floor tiles to avoid serious damage.
Note: When painting the tiles, you must generally work very carefully. If this applies to wall tiles, then you should proceed even more meticulously when beautifying the floor tiles. Our following instructions apply to both wall and floor tiles - so it is applicable to both variants. It is important that you have the right paint for the purpose.
Ventilate the bathroom or kitchen intensively before and during the painting activities to lower the humidity. It should be under 60 percent. Only then can the tile paint dry properly.
Painting tiles made easy
We will guide you in nine logical and detailed steps to your newly painted tiled wall or to the fresh tile floor.
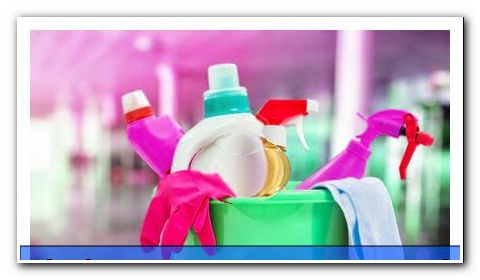
You need these materials:
- Epoxy lacquers for priming and final coating
- Foam rollers (fine and hard, closed-pore models)
- Vinegar, soap and / or tile cleaner, alcohol or hydrochloric acid agent as well as sponges and cloths (for cleaning the tile wall or tile floor)
- Screwdriver or adhesive tape (to protect the fittings)
- Sandpaper or sanding fleece (optional if roughening is required)
- sharp knife and silicone remover (optional, if silicone joints are to be removed)
- Joint white, sanitary silicone and joint tape (optional, depending on how much you want to work on the joints)
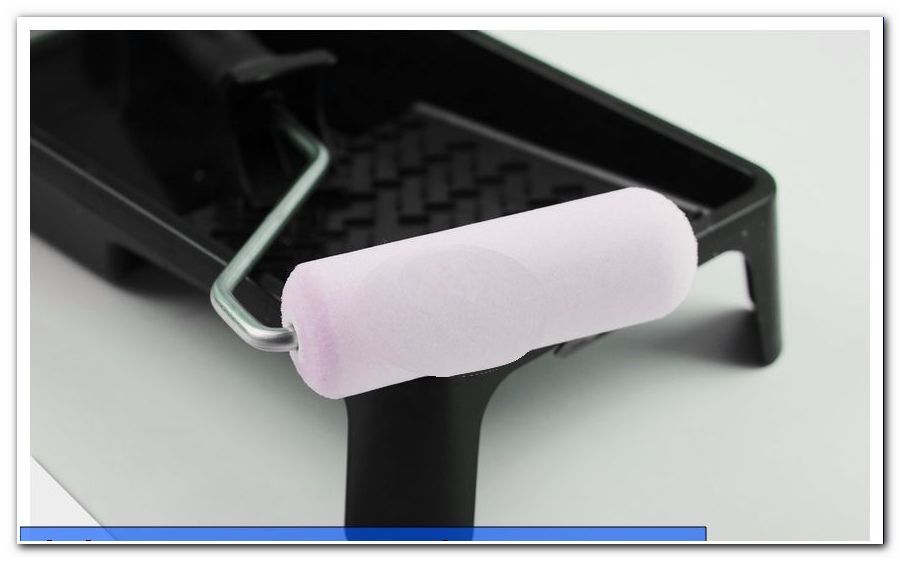
Tip: Have several fine and hard foam rollers ready. These may be so badly attacked by the special preparations that they need to be replaced continuously.
Step 1: Check joints
First check the joints. Small holes and cracks can be repaired with joint white. On the other hand, silicone joints are already very worn, so it makes more sense to remove them. Take a sharp knife at hand - with this the mass can be easily cut out and then rub off. As a useful helper proves in such a case, a special silicone remover. Attention: Unscrew the fittings before starting to work. If this is not possible or difficult, you can also tap it off carefully.
Important note: Commercially available silicone is not overpaintable. This means for you, that you have to tap or remove it before further steps. In order to avoid heels and to achieve a completely nice result, the second option is recommended, ie the removal of all silicone joints. After painting the tiles you can then renew them. This procedure is of course associated with more effort, but brings the much better result.
Step 2: Clean tiles
It may seem annoying, like carefully checking the joints in the first step, but it has a crucial effect on the final result: thorough cleaning of the tiles. This is your next task. The substrate you want to paint later must be absolutely clean - that is, free from dust, dirt and grease - and dry.
To ensure this, perform a vigorous treatment with a vinegar or soap cleaner. In addition, they support special tile cleaners, which effectively work against dirt and grease. Alternatively, you can also use alcohol or a hydrochloric acid (caution: corrosive!) - these utensils serve the same purpose.
Done "> 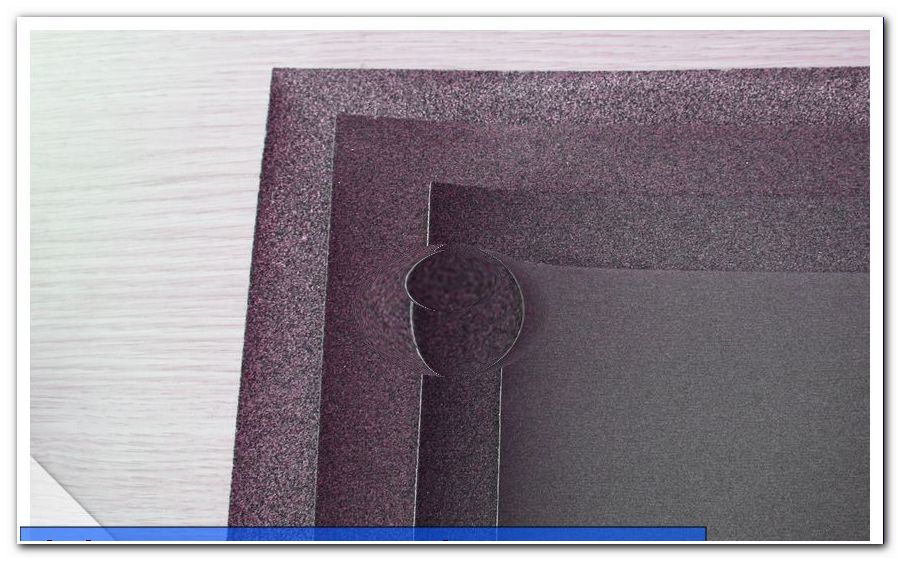
Tip: Always follow the instructions of the manufacturer of your selected tile varnish. This is the only way to find out if rouging is really necessary.
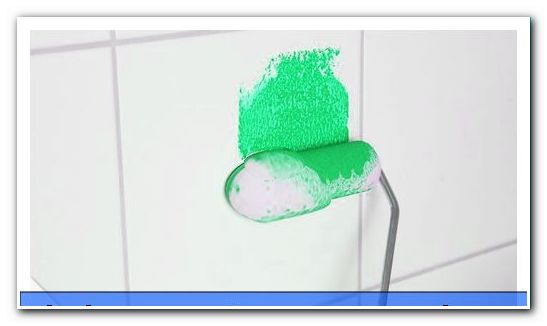
Step 3: Prime the tiles
At the present time you have done the tedious but essential preparatory work and can start with the actual work. To prime the tiles use a fine foam roller. Acting with this instrument is easy even for the inexperienced. Mix the components of the two-component system described above as explained in the instructions for use of your purchased product and apply the mixture quickly, yet systematically and carefully.
Tip: Some manufacturers also offer 2-in-1 products that eliminate primer and allow you to start immediately with the first coat application.
Step 4: Let it dry
Now you have a break, because the primer has to dry. This takes about 16 to 24 hours. After that, your tiles are ready for the first layer of varnish.
Step 5: Paint tiles
Mix the tile paint carefully - again as explained in the instructions for use - and then immediately begin to apply it. For this step, a hard, closed-cell foam roller is ideal.

Attention: After mixing the tile varnish can only be processed for about six hours. After that, the hardening begins. So make sure you prepare the right amount of paint and do not take any luscious breaks while working, but paint consistently - without any longer interruptions.
Step 6: Let it dry
After you have completely applied the first layer of varnish, the second drying phase begins. For these you can plan at least twelve hours.
Step 7: 2nd paint job
Once the first layer has cured, it goes to the second coat. Mix the right amount of tile varnish again and apply. Attention: Do not use the old, but a fresh role! You will see how well the paint covers even very dark tiles. As a rule, you will already see a radiant result after this second coat of paint. If it is not satisfactory, just apply a third layer - but of course only after curing the second layer, which in turn lasts at least twelve hours.
Step 8: Let tile color harden
In order to ensure a sufficient and good curing, you should let the tile color dry slightly longer after the last coat. We recommend two to three days. You should continue with the further steps after this time.
Step 9: Edit joints
Now you are almost done. There are only a few steps left to do: Reposition the joints with joint white or another shade of color from the tiles. Then you can renew the silicone joints on bumps and corners with sanitary silicone and, if necessary, joint tape, for example on the sink and on the bathtub. Finally, assemble the fittings or remove the glued parts, depending on how you proceeded in step 1.
Tip: Read here how to renew the tile joints clean!
Whether practiced or untrained - anyone who wants to give their tiles a new coat of paint, can implement this on their own. The required materials are available at the hardware store. Then all you need to do is follow our steps and your bathroom and kitchen walls or floors will shine in new splendor!
Another variant for new and colored tiles: You can also stick tiles with foil. In this guide, we show exactly how it works: Glue tiles
Tips for quick readers
- Always work with hard-wearing epoxy resin paints
- Unscrew or tap off fittings
- Check joints and if necessary repair or remove
- Clean tiles free of dust, dirt and grease
- For cleaning use vinegar, soap and / or tile cleaner, alcohol or hydrochloric acid
- If necessary, roughen tile surface with emery paper or sanding fleece
- Prime tiles with a fine foam roller
- Allow to dry for 16 to 24 hours
- Quickly paint tiles with a hard, closed-pored foam roller
- Allow to cure for 12 hours
- Apply second layer of varnish and allow to dry for 2 to 3 days
- Work joints with joint white, sanitary silicone and joint tape
- Screw fittings back on or remove adhesive parts