Seal flat roof - instructions and costs
- Seal the flat roof with minor damage
- Cost of minor repairs
- Step by step
- 1. find damage
- 2. Clean the surface
- 3. Glue the welding path
- Renovation and new roof construction
- Methods and costs
- Do it yourself or craftsman "> Alternative flat roof waterproofing
- Instructions for a trapezoidal sheet metal roof
- 1. Calculate area
- 2. Screw on the underlay
- 3. Secure trapezoidal sheets
- Costs for the trapezoidal sheet metal roof
- Instructions for a trapezoidal sheet metal roof
Flat roofs are among the components of a home, which often require repairs and must be revised. Depending on the size of the flat roof, there are very different ways and methods for the sealing, but important is the rapid elimination of the leak. We will show you how much the flat roof waterproofing costs and how you can seal your flat roof.
Whether bituminous membrane, self-adhesive membrane or a complete coating with liquid plastic, with a flat roof different ways lead to dry spaces. Unfortunately, few methods are for eternity and you should keep an eye on the cost of waterproofing the flat roof. The key point in a leaky roof, however, is that you act immediately. The damage grows in no time and causes health damage and high costs. Here we show how you can even waterproof the flat roof with bituminous membranes and liquid bitumen. You will also find the cost of these and other flat roof waterproofing measures.
You need this:
- broom
- gas burner
- spatula
- thick brush
- Bitumenbahn
- Bitumen liquid
Seal the flat roof with minor damage
The most well-known and frequently used method for sealing a flat roof is the gas burner in conjunction with an asphalt welding track. This possibility of sealing we want to show you here in a guide. But you can only repair damage if it is manageable. Therefore, you should not wait and fix any small damage to the seal immediately. Otherwise, the entire flat roof will have to be renewed soon.
Cost of minor repairs
You can get a roll of bitumen-welded track, which seals an area of five square meters, in the hardware stores for around 20 euros. For other special applications, such as sealing around a window opening, you will need other practical aids. Here is an overview of the different sealing materials:
gas burner - Bitumen welding line 5 square meters - about 20 euros
- Bitumen sealing tape
- Alu 10 m length x 7.5 cm width - about 15 euros
- Lead 10 m length x 10 cm width - about 20 euros
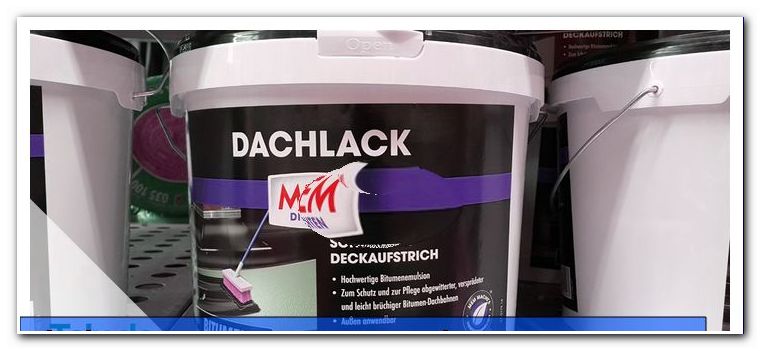
- Bitumen roofing lacquer 1 liter - about 6 Euro
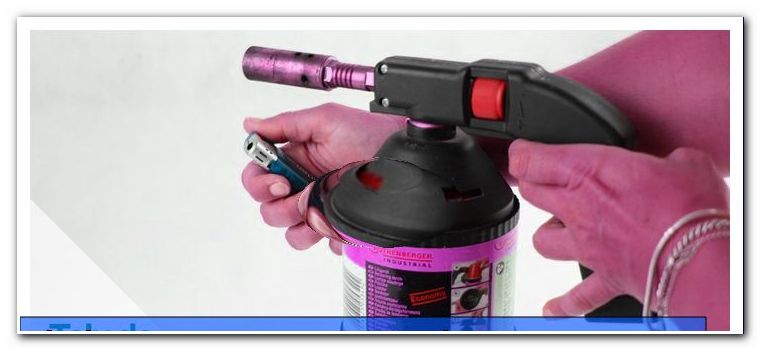
- small blowtorch with cartridge - about 20 euros
Tip: Ask before a roof coating in your hardware store, how much is there for a gas burner rent is required. With a small blowtorch it is more laborious because you have to work on your knees, but for very small areas it can be cheaper to buy a small blowtorch. After all, you can bring the big burner back even after the work is done, while the blowtorch can be used repeatedly for many purposes, even for the next small repair.
Step by step
1. find damage
The roof should be dry when you get rid of the damage. At first sight one can see at what point the moisture has penetrated through the old roofing felt. All brittle porous spots should therefore be recoated on this occasion. If the damage is not directly noticeable, you may not necessarily start from the point where water damage occurs inside. The water can only walk a bit between the layers of the roof coating. You must therefore check all seams of the old coating and optionally seal.
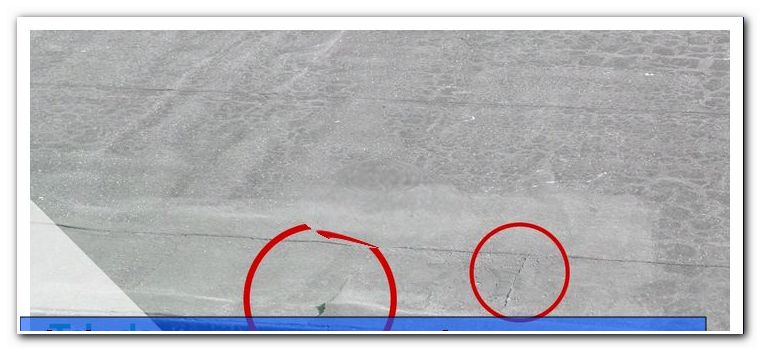
Find cracks and damage 2. Clean the surface
Lush foliage, small branches and dirt often accumulate on a leaky roof. Moss likes to settle on the permanently damp spots on the roof. All these things clog the drain and the roof suffers even more. Especially before you start to renovate a damaged roof, you should thoroughly clean the roof and free the drains of blockages. Then the new bituminous membrane can later adhere better and last longer, because the moisture can drain off the roof quickly.
Tip: To prevent damage, you should at least take a look at the flat roof regularly. So you can check after a heavy rain, whether the water can really drain. If you always keep the roof dry and remove all the dirt quickly, you will have a bit more of the flat roof for a longer period of time and less need to go to work with the gas burner.
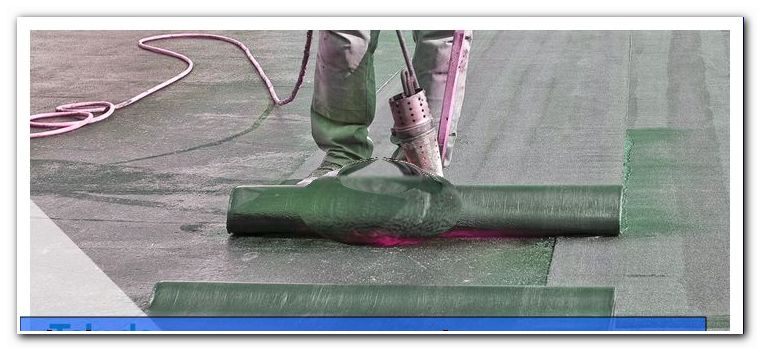
3. Glue the welding path
Bitumen welding tracks are usually welded in two layers. However, this is not absolutely necessary with a small repair. However, work very carefully at the damaged areas, otherwise you might burn the insulation here. Many roofs have already burned down during renovation work for such reasons. For the small damage you just have to cut a larger piece of bituminous welding and easily melt with the gas burner.
Tip: Around the repaired areas, you should still seal the edges of the new welding line with thick bitumen. When repairing the individual layers of the roof coating are usually a bit wavy and you can often not recognize the places on the seams, which are not yet completely closed. Thus, the thick layer of bitumen forms a kind of safety seal for your repaired areas.
However, if the roof is very porous in some places, it is recommended that the porous areas are covered with liquid bitumen before the sealing membranes are applied. Dab the bitumen properly with a thick old brush into the cracks. Depending on the instructions, the bitumen must dry briefly. Usually it does not even have to dry completely before you can then apply a new welding line.
Renovation and new roof construction
After a certain number of damages, it is no longer possible to save the roof surface with repairs. Then the bituminous roof has to be completely renewed. But that's also the right time to think about the nature of the flat roof. Even if the cost of the individual small repairs, as described above in the manual, are not excessive, the constant repairs are annoying. In addition, often suffers not only the roof, but also the ceiling and the furniture. Not to mention the nerves of the inhabitants.
Methods and costs
- Bitumen welding line and gas burner - from about 4 euros per square meter
- Self-adhesive bituminous welding track - from about 8 euros per square meter
- EPDM roofing membranes made of rubber or elastomer - depending on the quality, 10 to 30 euros per square meter
- PVC plastic sheets - depending on quality 5 to 15 euros per square meter
- Plastic coating liquid - from at least 30 euros per square meter
Bitumen welding tracks are usually bonded in two layers. That costs time and money. Especially since the roof skin between the two operations must not get wet. The rubber sheets or rubber sheets, however, need only be laid one layer. Although they are more expensive than the bituminous welding tracks, they also last much longer. Due to the good UV resistance these materials do not dry out so much and get no cracks.
A liquid plastic coating is rarely used for large flat roofs because the cost is slightly higher and the plastic coating can normally only be applied to a concrete surface. The liquid coating can not be applied directly to the insulation. Therefore, this variant is not suitable for all roofs.
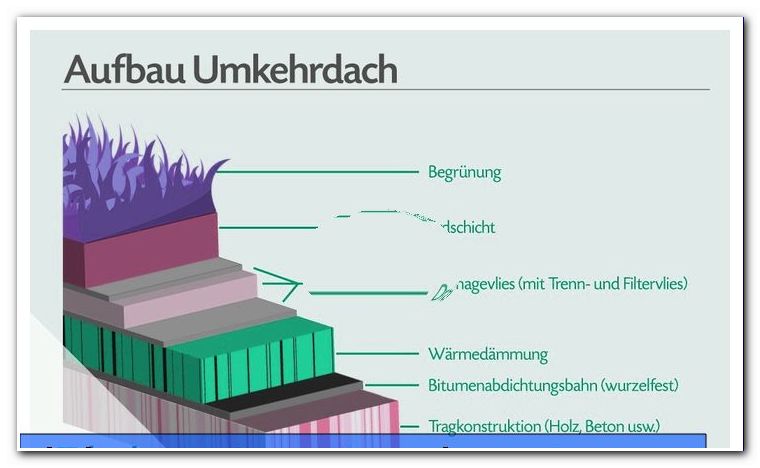
Tip: If the old bituminous flat roof is to be completely rebuilt, this is a good opportunity to reconsider the strength and quality of the insulation. If, for example, it is not possible to apply a really effective thick insulation, you can immediately switch to an inverted roof in this situation. In this case, the seal is under the insulation layer, which allows a good and very high insulation value. In addition, very nice roof terraces can often be realized here.
Do it yourself or craftsman "> Alternative flat roof waterproofing
Instructions for a trapezoidal sheet metal roof
Many homeowners will eventually have enough of repairs and water damage and consider an alternative. One of the simplest solutions are then trapezoidal sheet metal plates, which are screwed onto a battens. You can do this work relatively easily with a helper yourself. You only need a few roof battens, trapezoidal sheets and screws.
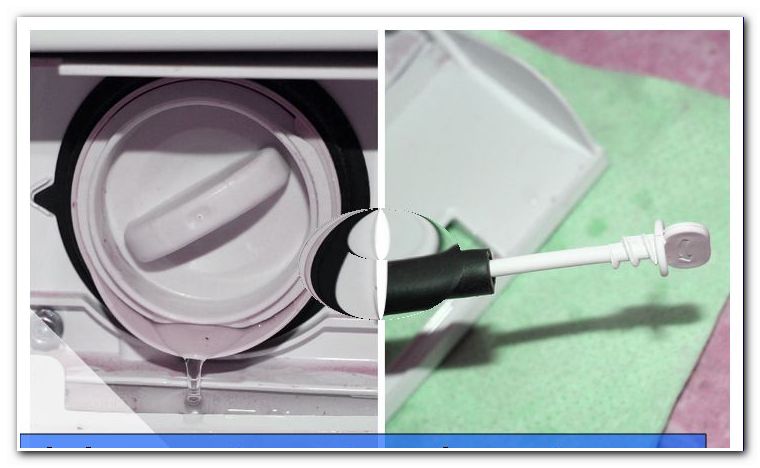
Tip: The simple trapezoidal sheet metal screws have a plastic coating on the screw head and a small plastic ring as cover. The slightly better variant also has a sealing ring, but also a small hat for the screw head. This variant seals the screw and the hole better, but the cost difference is minimal. Therefore, you should resort to the second variant.
trapezoidal sheet1. Calculate area
Depending on which type of trapezoidal sheeting you want to use and with which slope you are working, the metal plates must overlap to different degrees. If the overlap is too low, the water runs backwards in a heavy downpour. This overlap must be taken into account both laterally and with the length impacts. So read the instructions for processing that the manufacturer indicates to buy the required amount of sheets.
2. Screw on the underlay
In the manual of the manufacturer is usually also noted, which minimum slope must have the trapezoidal sheet. This gradient is simply made by the battens. The Unterlattung is screwed to the higher end of the roof on small staff ends, so simply doubled. However, check with a protractor whether the incline is sufficient. The distance between the slats should not be too far apart so that the slabs do not sag later.
Tip: Below the new sheet metal area there is enough space between the slats to apply improved insulation to the roof. Make the decision dependent on the use of space underneath. Living rooms that are heated should be relieved of the additional insulation in terms of heating costs. A cold conservatory or a storeroom does not require this effort. By the air layer between the new and the old roof layer anyway creates a certain additional insulation.
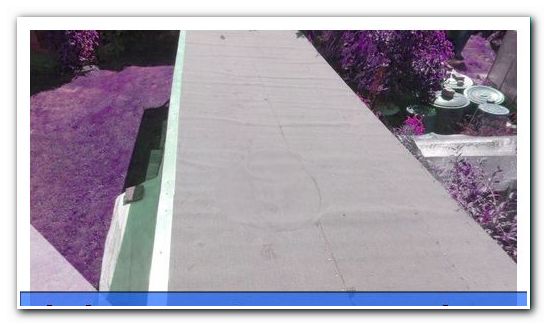
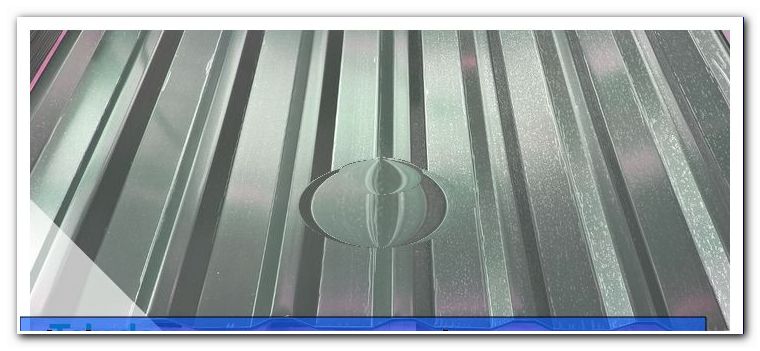
3. Secure trapezoidal sheets
The trapezoidal sheets are simply screwed onto the slats. Note again the overlap and always start at the lower end of the slope. Attentive and careful you should handle the small screw caps. The sealing ring, which lies under the screw head, must not be damaged during installation and every small plastic cover should be carefully pressed onto the screw head. Thus, nowhere does water run through the screw holes and you enjoy your new improved flat roof for a long time.
Tip: Be sure to wear thick leather gloves and safety shoes when working with trapezoidal sheets. The sheets can slip off and then cut into your hands. The safety shoes ensure that you can support the sheets quietly on your feet, as you often do involuntarily.
Costs for the trapezoidal sheet metal roof
 Since no great substructure with static requirements is required, the costs for a trapezoidal sheet roof on a former flat roof remain very manageable.
- Trapezoidal sheets - depending on the quality from about 5 euros per square meter
- Battens spruce or fir impregnated 24 x 48 millimeters - 2 meters long from 1.10 euros
- Trapezoidal sheet screws simple - 250 pieces - about 10 euros
Tips for quick readers
- Determine damage and judge size
- Match the method to the damage size
- Thoroughly clean and dry the roof
- Apply bitumen paint to porous areas
- Glue the welding path to the burner
- Complete renovation for major damage
- Select method or commission craftsman
- Process plastic coating according to instructions
- Glue rubber course in one layer
- possibly cover flat roof with trapezoidal sheet metal
- Install battens on the old bituminous roof
- Gradient sufficient work for trapezoidal sheet
- Unscrew metal sheets for underlayment
- Pay attention to safety - wear gloves and safety shoes


 Since no great substructure with static requirements is required, the costs for a trapezoidal sheet roof on a former flat roof remain very manageable.