Liquid woodchip: Apply, brush and remove - how it works!

- characteristics
- Prices of liquid wallpaper
- lifespan
- Advantages and disadvantages
- Make liquid woodchip yourself
- Process liquid woodchip
- wall preparation
- steps
- The removal
- repair
- Tips for quick readers
Wallpapering is a tedious and time-consuming job that requires some skill and a thorough wall preparation. However, you do not have to tap into woodchip, but you can easily paint it. How this works, and what you should know about liquid woodchip, we reveal in this post.
So-called liquid wallpapers have conquered the market in recent years. This also includes liquid woodchip. The reason for the triumphal procession is that it is much less costly to roll up a color than to paper all parts of the wall and possibly even the ceiling. Despite the advantage, there are some things to consider when using liquid woodchip. We have therefore summarized the most important facts and instructions for painting and removing liquid woodchip in this article.
characteristics
As with all wallpaper types, there is of course not "one" product, but a whole range of different products. The individual liquid wallpaper can be quite different in terms of properties, processability and price.
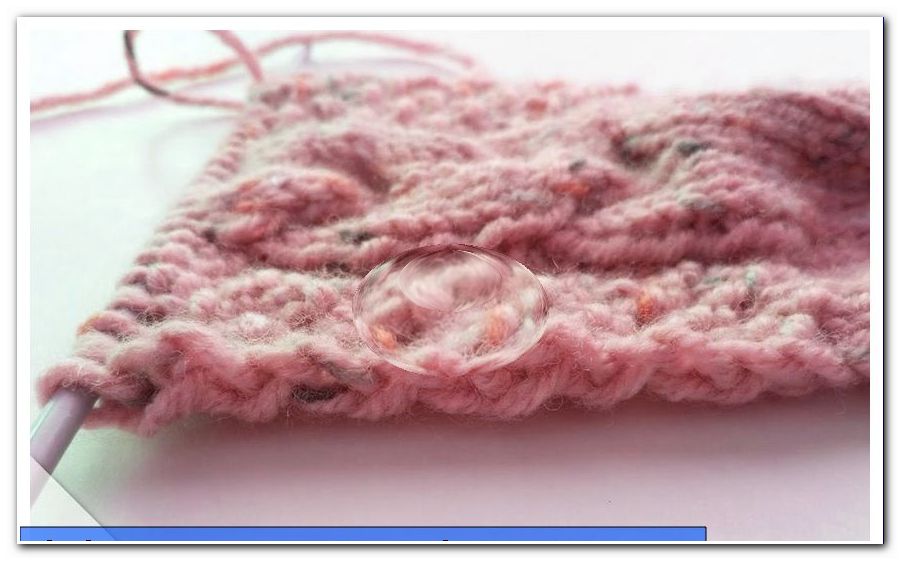
However, the basic structure is always the same: it is wall paint (actually a plaster) with certain, mixed effect materials that form the structure after application.
The admixed materials can have a different grain size, and also consist of different materials. Even cotton fibers are possible, but usually this form of liquid wallpaper is then usually called "cotton plaster".
job opportunities

Many of the products on offer are easy to roll up onto the wall with specially designed scooters (lambskin scooters can not be used for liquid wallpaper). In many cases, however, you still have to work with the trowel for a balanced structure.
Other products must be applied directly with the trowel. This requires some skill and is similar to the handling of the plastering. To get a really uniform structure, you need a bit of practice as a DIY enthusiast. Experience with the classic plastering with the trowel is quite helpful.
Injection of liquid woodchip is possible in principle for some products, but this definitely requires professional equipment that is usually not available in the home. Moreover, it takes a lot of practice and experience to get a clean result by spraying.
Prices of liquid wallpaper
The prices are very different. A 5 liter container can cost around 15 - 20 euros, but also 50 euros. Of course, the qualities, structures and properties of these liquid wallpaper then different, not only the price.

 To get an approximate price per square meter, one can assume an estimate: 1 liter of liquid woodchip is sufficient for about 3 - 4 square meters wall surface. If you are a little untrained, you should start a little less. Even heavily angled surfaces with many corner and edge areas increase the space consumption slightly.
If one calculates this with an average price of around 35 Euro per 5 liter container, the square meter costs about 2 Euro, materials for the wall preparation not counted.
Liquid wallpaper is so much easier to paper, however, compared to classic, glued Raubasert wallpaper also almost ten times as expensive. Of course, that's different when you paper. For the painter, applying a classic woodchip wallpaper costs about 6 - 11 EUR per m², liquid woodchip can be applied for around 2 EUR per m².
lifespan
Classic roughened wallpaper, which are glued, one sweeps usually. This painting can be repeated a few times. As a rule, the life expectancy of classic woodchip is usually well below 10 years. The walls also pollute quite easily and easily put on dust.
In contrast, liquid woodchip is in many cases antistatic, meaning that it repels dirt and thus remains clean for a long time. This does not apply to all products. The higher costs are therefore somewhat offset by a significantly longer service life than with classic wallpapers. In addition, liquid wallpaper in Rauhfaseroptik can also repair well if they should get even stains or damage (which is almost impossible with glued Rauhfasertapeten). How such a repair works is explained below.
Advantages and disadvantages
| advantages | disadvantage |
|
|
Make liquid woodchip yourself
In order to reduce the expensive product costs, many resort to self-help, and produce liquid wallpaper itself. This is relatively easy if one stirs in conventional wall paint different materials with the same size as possible grain size in such an amount that results in a mushy consistency. Suitable for this are:
- sawdust
- cat litter
- small, equal sized pieces of wood
However, the structural result is not always balanced and usually difficult to predict, as is the optical effect.
A better alternative for home-made woodchip and a durable structure is to use textured interior plaster as a finishing coat right from the outset. This is optically in most cases significantly more balanced and has a higher quality.

Process liquid woodchip
wall preparation
The substrate must have the following properties before application:
- clean
- dry
- fat free
- sustainable (not crumbing or sanding)
- free from damage
- completely even
- slightly absorbent (not too absorbent, otherwise a pretreatment is necessary)
- for the inclusion of the required primer identified as suitable
- not too rough plastered (often causes problems)
Any further preconditions for the condition of the wall surface may arise depending on the manufacturer of liquid wallpaper and / or primer.
steps
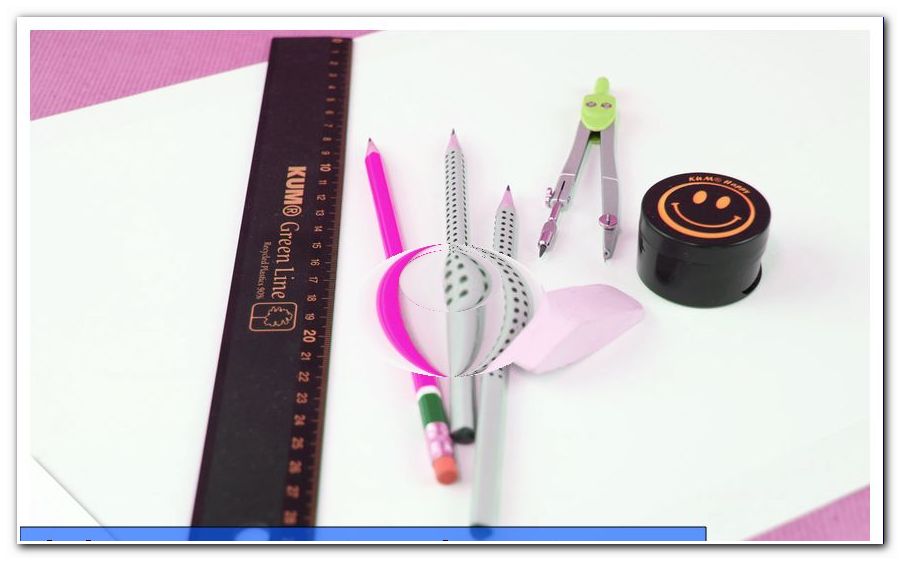
Basically, it comes from the application of liquid wallpaper with relatively few tools.
You need this:
- primer
- liquid woodchip
- Vinyl scooter for application and / or smoothing trowel
- possibly own scooter to order the primer
- Painter's tape, plastic film for masking
- possibly repair filler
- ev. Sandpaper and sanding block
- possibly deep ground to strengthen the substrate and to compensate for the absorbency (if necessary)
Tip: Do wall work (plastering, painting and applying liquid wallpaper) as far as you can always in daylight. Only then can you see where you still need to improve and get a consistent result. In artificial light often creates a false impression and the result is then viewed in daylight often ugly and uneven. In addition, always work "away from the light".
1. Check the wall and repair work
First check the wall surfaces (and ceiling surfaces, if relevant) with regard to the necessary conditions. If necessary, clean the wall, sand it slightly to coarse plaster and repair small holes or cracks with a repair spatula so that they are perfectly flat afterwards. Before applying the primer, make sure that the repair or filling filler has completely cured.
2. Apply primer
Apply the primer to the wall according to the manufacturer's instructions. For corners and angled areas, use a suitable brush. The instructions for applying the primer may vary slightly depending on the product, as well as the drying times.

3. Apply liquid wallpaper
Then apply the liquid wallpaper with the vinyl scooter (never with a lambskin scooter!). Always work on small areas and check the balance of the structure from time to time. If you notice any defects, improve immediately with the trowel until the structure is balanced. If possible, work with natural daylight and not with artificial light.
Some products can only be applied directly with the spatula. Proceed in the same way as plastering, always work one after the other in small areas and carefully balance the structure over and over again.
Tip: For sprayed liquid wallpaper repairing or repairing is usually not possible later, this is only possible with rolled or filled liquid wallpaper (easiest if it has been troweled). Also for the balance of the structure and the later antistatic effect of the wall covering, the filling is more advantageous.
The removal
The removal of liquid woodchip usually succeeds only by scraping or (only with very small Strukturkörnung) by grinding. Both cause considerable damage to the wall, and means a lot of effort and a lot of dirt. Before the wall can be redesigned, it usually has to be compensated for again with great effort. In some cases, surface roughening may be one way to re-create a smooth, unstructured wall surface. This is not possible with most products. A redesign of the walls - for example, by masking - is also not possible.
repair
Small damage or stains on a wall covered with liquid woodchip can often be repaired well. All you need to do is slightly moisten the damaged area until the material moves. For example, a flower sprayer is suitable for this purpose. Then you can easily compensate for the damaged area using a trowel and cover discolored material with other material.
Tips for quick readers
- Liquid woodchip is more expensive than classic woodchip, but also lasts much longer
- it can be applied with a roller, with a spatula or by spraying
- Liquid wallpaper can often be dirt-repellent and sometimes slightly heat-insulating
- Liquid wallpaper can be repaired
- The removal of liquid woodchip is possible only with great effort and with damage
- Over wallpapering or smoothing the structure usually does not work
- The self-production of liquid Rauhfaserfarbe is rather problematic