Lay screed - instructions and all costs at a glance
- Further tasks of screed
- Screed types and their installation method
- Installation of screed: procedure and work steps
- Pouring and removing
- Precautions
- To prepare
- Mix screed
- Install the draw sheets
- Fill gaps
- Pour screed
- Screed for insulating layers and underfloor heating
- Pouring and removing
The screed is a layer of fine mortar, which connects the shell floor with the top layer. The primary task of the screed is to create a flat and smooth surface. This is necessary to be able to produce a floor covering that is free from waves and gradients. These are the prerequisites for the tripping and even drying of a damp-smeared floor covering. In addition, a creaking when walking is avoided with a flat floor in laminate and parquet.
Further tasks of screed
- Pressure-resistant superstructure
- A screed must be pressure-resistant to absorb heavy objects.
- Elastic cushioning
- The elastic cushioning is necessary so that the screed will not be immediately damaged by impacts or vibrations.
- soundproofing
- The screed is a layer of a dense building material. It absorbs airborne sound and shields the individual floors from each other, in addition to the concrete layer of the false ceiling. However, he lets through impact sound unhindered, which is why the floating screed was developed
- Thermal protection and moisture barrier
- An insulated screed prevents the leakage of leaking liquids from one floor to the next. Provided with impact sound insulation, the screed can also have a heat-insulating effect.
- Recording a floor heating
- A pipe- or hose-based underfloor heating system is laid in screed as standard today.
Screed types and their installation method
There are five types of screed, which are distinguished after their installation.
topping
The composite screed is a simple topcoat that is applied to the existing shell floor. It is used only for filling and smoothing the surface. Composite screed is not insulating against heat or sound. Its installation height is a few millimeters to 5 centimeters.
Screed on separating layer
A screed on separating layer has a barrier layer of plastic film between the raw construction floor and screed mortar. This serves to stop penetrating fluids. Screed on separating layer is often used in garages, workshops or oil storage facilities to prevent leaking oil, paint or gasoline from infiltrating.
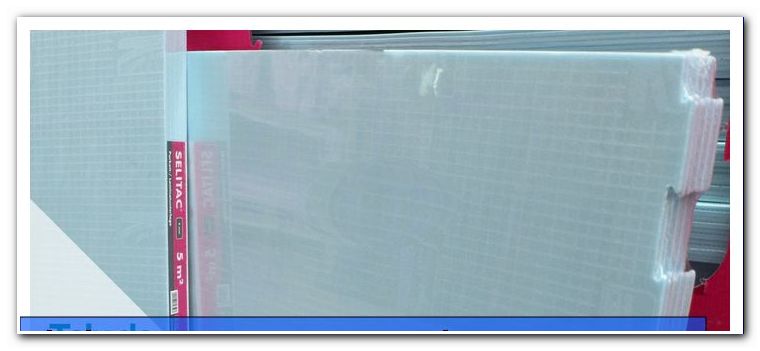
Prefabricated screed
Prefabricated screed consists of prefabricated panels, which are laid dry on the ground. For a precast screed, the previous installation of a composite screed makes sense, so that the panels rest on a level surface.
Floating screed
The floating screed is installed in a bed of impact sound insulation. It is technically separated from the shell ceiling and the interior wall of the room. As a result, the impact sound bridge is interrupted and the living value of the house increases significantly. Floating screed also has heat-insulating properties.
heating screed
Heating screed is a high level floating screed that is suitable for receiving underfloor heating.
Installation of screed: procedure and work steps
Only cement- and calcium carbonate-based screeds are suitable for installing screed at home. Dry screed panels are simply laid and screwed. All other screeds such as mastic asphalt, synthetic resin and magnesia screeds may only be installed by specialized companies!
Important! NEVER mix cement and calcium carbonate screeds! These are two completely different materials that have a negative impact on contact! Cement contaminated with gypsum (calcium carbonate) never hardens!
Pouring and removing
Lining is the classic method for installing screed. It has the advantage that it can be carried out very controlled and that it has only a short drying time. Pouring and stripping is only suitable for cement screed . All types of installation can be carried out with the pouring and stripping technique.
Needed tools:
- 1 x 3 meter aluminum rail (about 30 Euro)
- 1 x 2 meter spirit level (about 45 Euro)
- 1 x personal protective equipment consisting of knee protectors, gloves and safety goggles (about 30 Euro)
- 1 x flat bucket (about 15 Euro)
- 1 trowel, float and trowel (each 10-15 Euro)
- 1 x mortar trough (about 15 Euro)
- 1 x water bucket (about 1 Euro)
- 1 x pencil and folding rule (about 5 Euro)
Required materials:
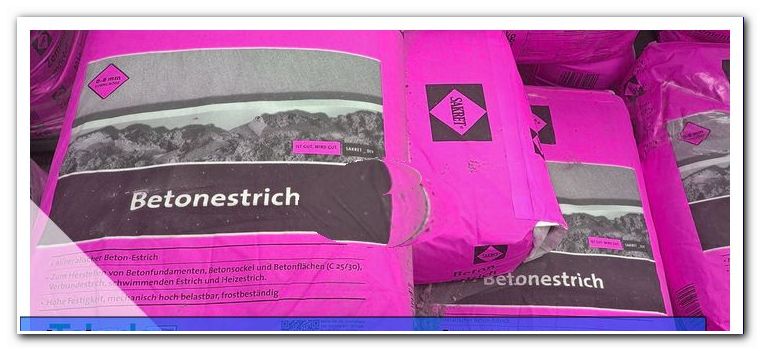
- Cement screed (2.50 Euro per bag)
- water
- Foil (0.5 mm thick, approx. 20 Euro per 100 m² roll)
- Foam roller as a joint tape (1 mm thick, approx. 8 Euro for 20 meter roll)
Tip: Never use quick-setting cement for the pouring and stripping process! This binds off too fast for this relatively slow process!
Precautions
Cement-based screed is strongly alkaline. Skin contact may cause irritation and redness, which may result in painful burning sensation. In case of eye contact, rinse immediately and contact the emergency physician! There is a threat of blindness!
Important: For this reason always wear protective goggles when working with screed!
To prepare
The room must be thoroughly cleaned. The installation of a separating layer is standard today. Therefore, a film is first spread in the room. Around the joint tape is attached to the wall. With the aluminum rail and the applied spirit level, the highest and the lowest point of the room are determined. In the housing is a minimum thickness of 5 cm. The highest point of the raw construction soil is transferred to the window side of the inner wall and from there the desired height of the screed is added. Now, the distance from the end marker to the ceiling is measured, provided a straight, even ceiling is present. Otherwise you have to use the spirit level to draw a leveling line to orientate yourself. The determined distance to the ceiling is now transferred to any number of places on the outer wall. 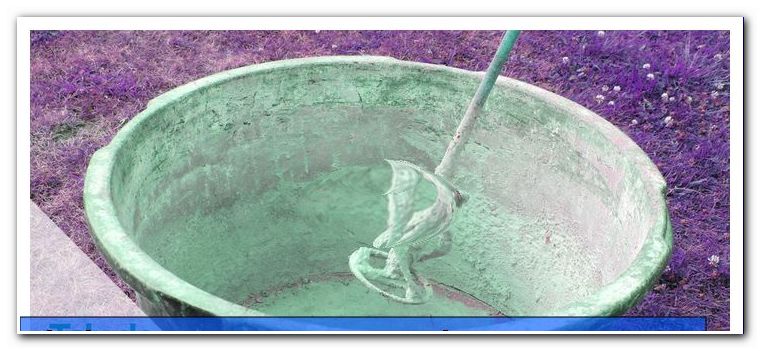
Mix screed
The screed is mixed in the tub. Only so little water is used that the screed becomes humid. If a compressed ball of screed no longer disintegrates, the earth moisture is reached. Always mix and install one bag at a time! Never touch too much screed at once!
Install the draw sheets
Two sheets of earth-damp screed are installed from the door to the window. These tracks have a width of about 20-30 cm. They have to be absolutely smooth and smooth. The height must be checked permanently with the aid of the orientation points.
Fill gaps
Are both Abziehbahnen installed, the spaces are filled. The screed is installed damp with soil and tapped with a shovel. Each installation should not exceed a width of 30 cm. It can be filled one field after the other, the simultaneous filling over the entire width of the room is not necessary or useful.
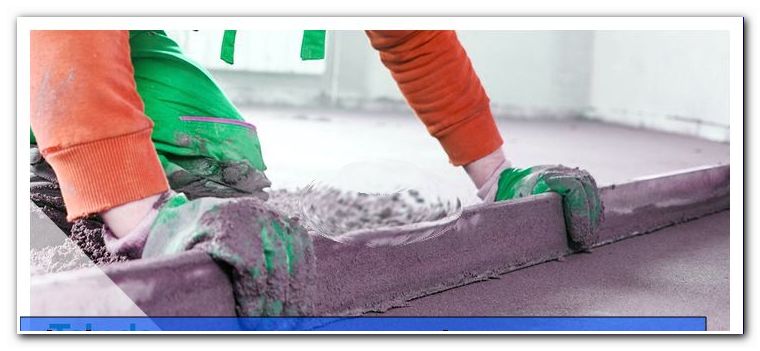
The tamped screed must protrude a few millimeters beyond the withdrawal trays. Then it can be removed with the aluminum rail. Immediately pick up the removed material with the trowel and refill.
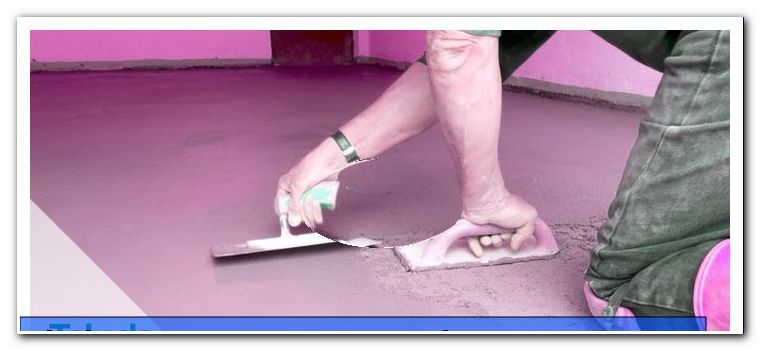
The screed can now be put on for a few minutes. As soon as a first curing is detected (about 5-10 minutes), the screed is rubbed off. Grind circularly and lightly over the screed with the float. Do not apply too much pressure otherwise you will have holes in the screed again. By rubbing the mixing water rises in the capillaries of the screed and forms with the cement slurry a closed and smooth surface.
After rubbing, the ascended cement slurry is smoothed with the smoothing chip. So you work backwards piece by piece to the door. Close the room after work or secure against obstruction with a barrier tape. The screed can already be walked on the next day.
Additives can influence the properties of the cement screed. There are dyes, fabrics to increase elasticity, fabrics for waterproofness and much more.
Pour screed
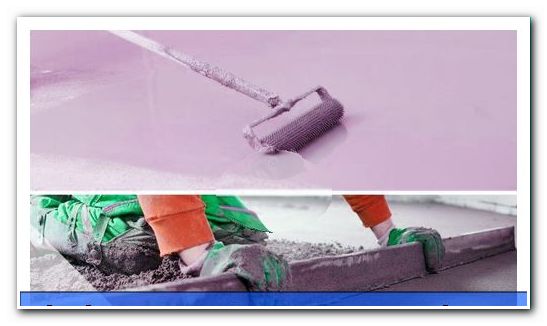
The pouring of screed is an efficient process for large spaces or high layer thicknesses. It is very popular with home improvement. The manufacturers promise a simple installation due to the self-leveling properties of the liquid screed. This is only partially true, especially since the screed must be turned on with a lot of water to really evenly flow everywhere.
The floating screed usually uses a pump and a silo. This will provide the entire floor with screed at once. The handling of finishing screed and pump should be left to specialized companies.
The handyman should only work on smaller projects with floating screed. The material is easy to work with, but you have to be very fast and can not afford any mistakes.
This requires:
- Spirit level and folding rule
- mortar bucket
- Electric drill with whisk (about 150 Euro)
- old broom
- as broad as possible smoothing chip
Prepare the room as described above.
Mix the liquid screed with plenty of water in the mortar trough. To do this, first pour a bucket of water into the mortar trough and gradually add the liquid screed with stirring. The water should be plentiful, the whisk, however, be used sparingly. The more one touches the liquid screed, the faster it becomes stiff. This is especially true for calcium carbonate screed.
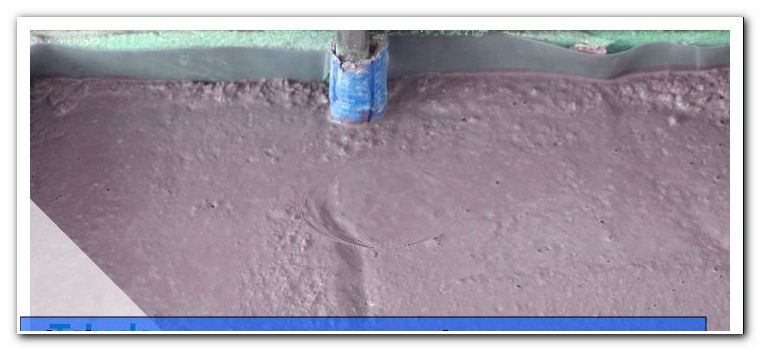
The liquid screed is poured starting from the window . For this you can use a bucket or pour out the whole tub. It is important that the screed is immediately evenly distributed. The old broom is suitable for it. The screed is mixed in sacks (40 kg per bag plus water!). Immediately compensate for the mountains and the chill.

If you notice an irregular result the next morning, you can improve it by sanding and refilling. It may be useful to insert another 3 to 4 mm thick leveling layer. This can be done by the same method and with the same material. As long as the screed matures, he enters into a solid bond with another layer.
For screed, cement and calcium carbonate screeds are suitable. Cement screeds, which have been incorporated by flow, tend to shrink. It may therefore be that the finished cured screed must be retreated. If sanding of the screed is not sufficient, it must be topped up or a leveling layer must be installed. In the pouring and stripping process, the shrinkage of the cement screed is significantly lower.
Tip: Calcium carbonate screeds do not disappear and are somewhat more fluid than cement screeds.
Keep drying times
Before the screed can be sealed with a floor covering, it must be completely dry. Depending on the thickness of the screed layer and the type of installation, this can take several weeks.
Screed for insulating layers and underfloor heating
Both methods are suitable for installation on impact sound insulation and underfloor heating systems. When installing screed on impact sound insulation, it must be ensured that the screed layer does not come into contact with the structural ceiling or the inner wall at any point. The effect of the entire impact sound insulation is nullified if a sound bridge was overlooked. Therefore, always install a layer of foil between the impact sound insulation and the screed as a separating layer.
The cost of impact sound insulation depends on the thickness. Impact sound insulation has defined material properties. In particular, the compressive strength and elasticity are subject to strict standards. In view of the low prices for these insulating panels, however, the search for a bad substitute solution does not make sense.
Tips for quick readers
- always pay attention to eye protection
- do not be afraid of the bulk and Abziehtechnik. It's easier than it looks.
- Respect for the liquid screed. It is not as easy as it looks and can lead to unsightly results with a lot of rework.
- Use additives to improve the properties of cement screed.
- do not use hard foam for impact sound insulation.
- pay close attention to the avoidance of sound bridges when floating screed.