Descale electronic water heater - how it works!
- Removal of the items
- Entkalkungsbad
- Assembly of the individual parts
Lime is not only the natural enemy of a washing machine, but also the heating elements of the electric water heater suffer from deposits. As a result, the heat transfer performance is reduced, and the costs for hot water treatment rise considerably. Regionally, the proportion of lime in the water is different, so that a descaling of the water heater is necessary from time to time.
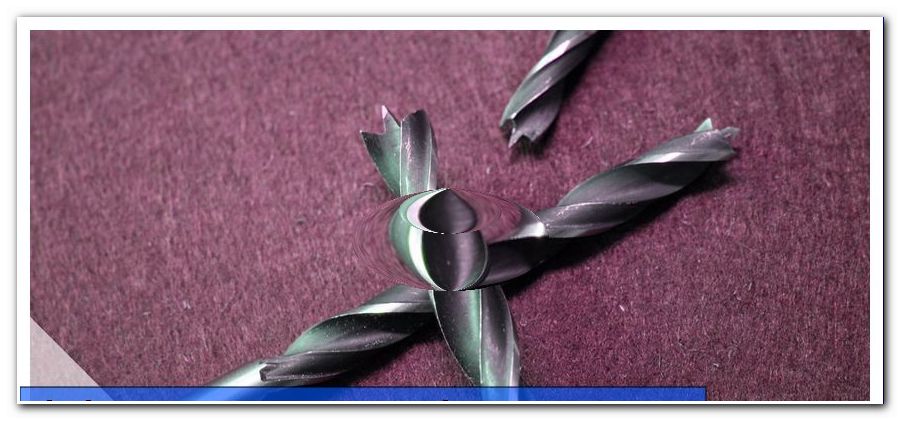
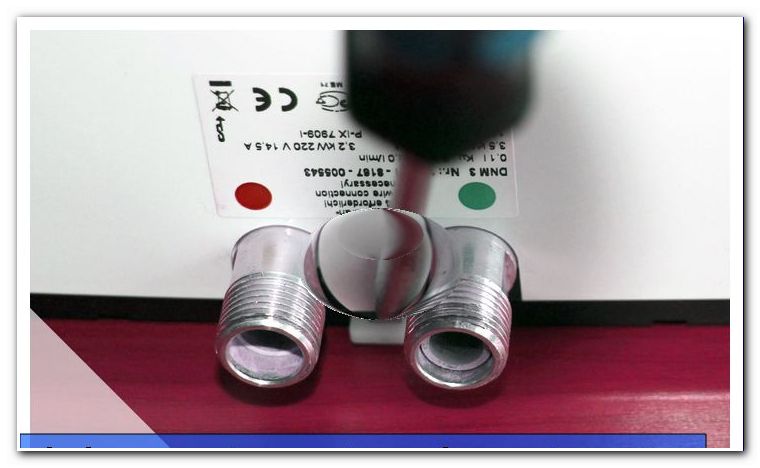
Before you start decalcifying your water heater, please check the type. For some manufacturers, calcification is not possible at all, because it does not allow the construction. If it is a device with bare-wire heating, calcification is not possible. The bare-wire heating elements are used in a pressure-resistant insulating block and thus can not be opened and descaled by the layman.
Construction bare wire 1 of 2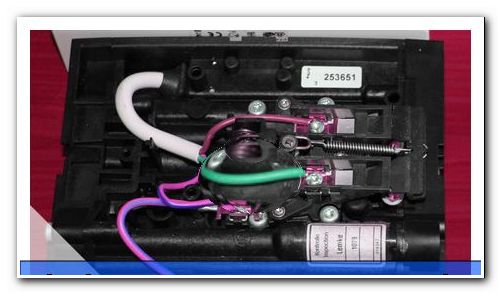
For appliances with heating elements ( pipe heating system ), a try may be worthwhile. It is advisable, however, to consult a specialist. This manual is suitable for units with pipe heating systems.
Tip: If you live for rent, the repair of the water heater is landlord's affair.
Removal of the items
While the heating elements inside the instantaneous water heater heat up the water, the finest calcium deposits build up over time. If the heating element is completely covered with lime, the heating power of the device is automatically reduced. From a long-term perspective, the loss must be expected. But before this happens, it is easier to decalcify the electric water heater and provide lasting power.
Our DIY guide for decalcifying electronic instantaneous water heaters should be read carefully and implemented step by step. Regular descaling of the water heater ensures stable performance.

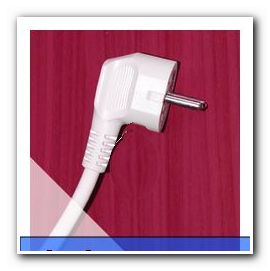
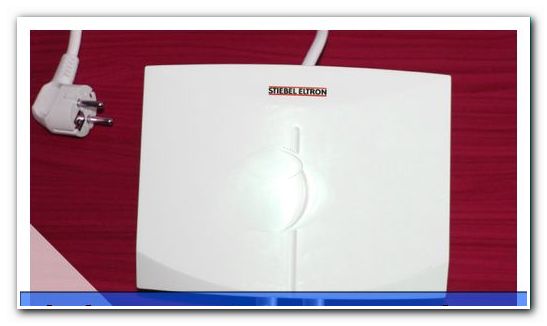
In any case, it is important to remove the device from the mains before the first work step. First of all, this means: unplug the plug or disconnect it from the power supply!
Before the disassembly into individual parts begins, it is convenient to provide a bright towel or a similar light surface on which all screws and small parts are stored. So be sure not to forget any parts during later assembly.
The first steps at a glance
- Disconnect the device from the power and water connections
- In any case, pull the plug
- If necessary, empty the device
- Collect all parts on a light cloth
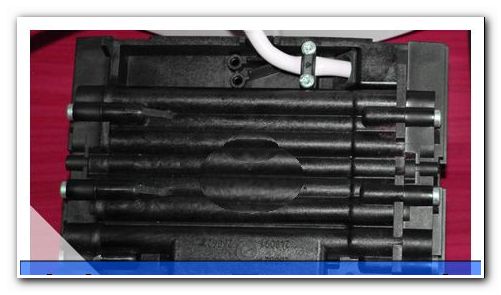
The housing cover is now removed and all necessary parts leading to the heating elements inside. The structure can be different for each device type. The calcified elements now appear and are carefully removed. If you are unsure about the future design of your device, take photos of the original condition and the individual operations. Under no circumstances may you work here by force! Each of the elements is either fixed with a screw or is connected by simple mechanics. Inside are next to the heating rods also pipes and possibly hoses, which are visibly calcified. These white deposits are more than clearly visible.
Entkalkungsbad
At a glance - This is how it continues
- Prepare acid bath in large bowl
- Cover all small parts sufficiently with water
- The calcification determines the exposure time
- Check gaskets and replace if necessary

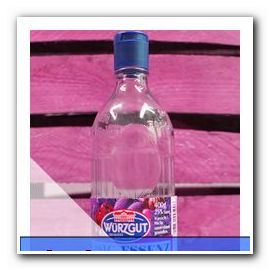
Prepare an acid bath of clear water and vinegar. Here all the small parts are tricked. Alternatively, use the commercially available descaling agents to decalcify the boiler. It should be noted that the elements are completely in the water. Otherwise, protruding parts are not freed of lime. Depending on how intensively the components are calcified, they must remain in the water-vinegar bath for several hours. In stubborn cases, this descaling process can take a few days. Here you must remember that the lime has deposited not only externally, but also in the course of time in the pipes. So it's worth taking a look inside, if that's possible.
Check seals
The individual elements are completely decalcified only when no white surface is left on the surface or in the pipes. The exposure time of the elements is only completed when any lime has already detached or can be wiped without any effort. Only then the parts are removed from the acid bath and rinsed briefly with cold water and dried. While the components of the water heater are in the acid bath, this gives you the time and opportunity to now also check the seals of the device. When used for a long time, these will be partially brittle and break. The result is a dripping instantaneous water heater. So avoid such disruptions with smart attention and replace the seals with new ones. In the specialized trade or hardware store you get new seals, which they simply replace with the old ones.
Assembly of the individual parts
Descaling of the water heater is now complete. Now all parts are well dried and prepared for re-installation. The assembly takes place in the same way, this time only in backward operations. First, the new seals are used again. Thereafter, the insertion of the heating elements, hoses and pipes. Make sure that all parts are tight. The photos taken during disassembly are a great help during installation. So you can check the correct position of all small parts.
Pay attention to the small parts!
Now the water heater is again mounted on the wall. First check that all supply lines are tight and let in water. If there is no water in any part of the device after approx. 10 - 15 minutes, the device can be reconnected to the power circuit. It goes without saying that at the end no screws or gaskets must remain. It is equally important that you reinstall the screws exactly where they were before disassembly. After switching on the device, all functions should be completely restored.
Tips for quick readers:
- Remove the device from the mains and water supply
- Store all small parts clearly
- Create photos of the dismantling
- Soak the calcified elements in the acid bath
- If necessary, replace seals
- Final cleaning and drying
- The installation of all elements
- Closing the device
- First connect the water, then check!
- Last step: connect device to circuit