Crochet shopping net / ball net - free instructions with template
- Crochet pattern - shopping net
- Crochet floor
- mesh pattern
- Graduation and Henkel
- Quick Start - Crochet the net
They care about our environment and want to dispense with their shopping as possible on plastic bags ">
Then you are exactly right here: Here you can read how you can crochet your shopping net. The crochet pattern shows all steps from the first to the last stitch.
What you need for the shopping bag:
- Approximately 100 grams of stable yarn for crochet: very good is cotton. Cotton is tear-resistant and hard-wearing. I use to crochet a net cotton ribbon: ONline, line 346 ARONA, 100 g = 230 meters, needle size 5.0 - 5.5
- Matching crochet hook: To crochet my shopping net, I use a crochet hook 5.0
Crochet pattern - shopping net
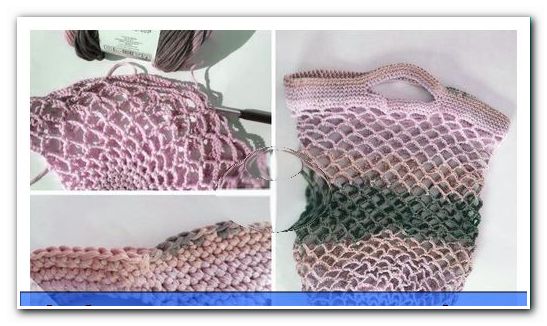
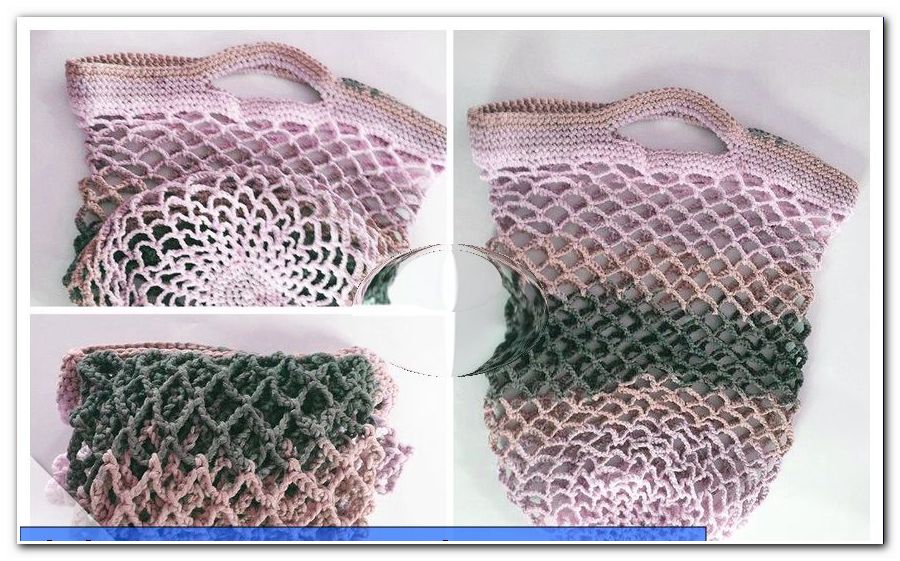
The net is crocheted from the bottom up. I start with the ground, which is crocheted in tight meshes like a small plate and then go into an easy to crochet network. As a conclusion, our shopping net gets an edge and carrying handles made of solid stitches.
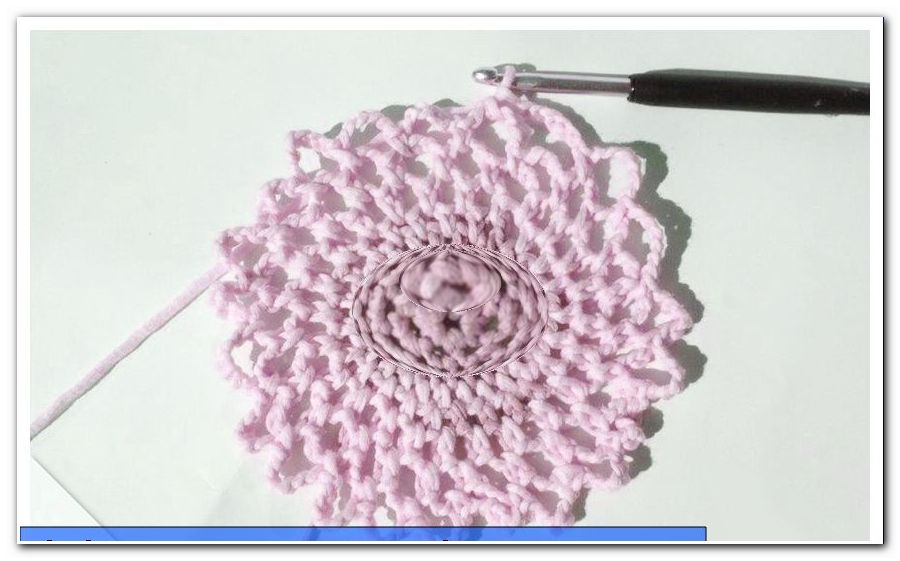
Crochet floor
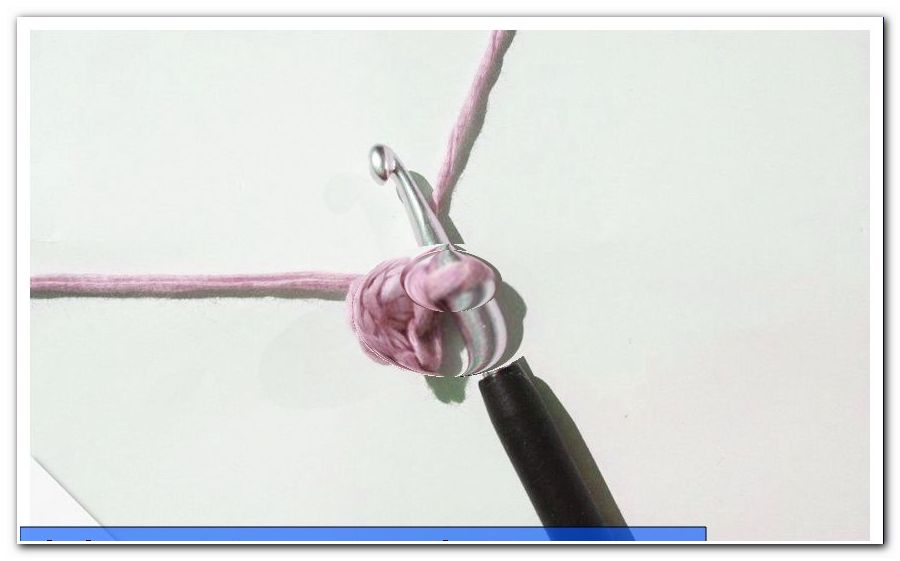
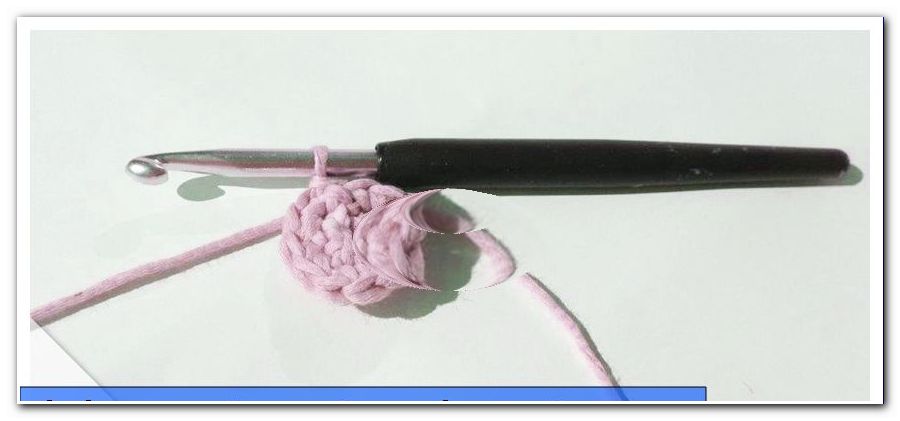
Round 1:
The best way to start with a thread ring. (For help, see Crochet Thread Ring) Crochet 6 stitches into this ring and finish Round 1 with a slit stitch.
Round 2:
Crochet an airlock first. This stitch forms the round transition. Crochet two sts in each of the 6 stitch heads from Round 1 (crochet a single crochet as normal, then plunge back into the same stitch and crochet one more crochet). You crocheted 12 crochets this turn. Finish this round again with a chain stitch.
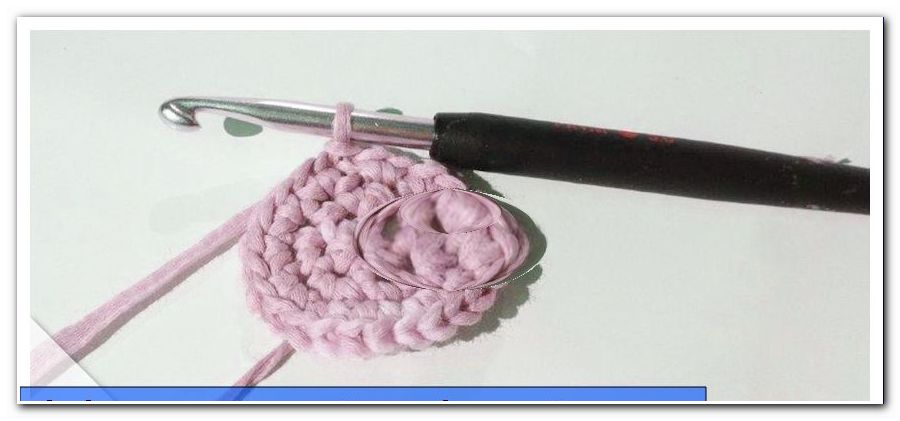
Round 3:
Start of the round: 1 transitional air mesh. In this round, the number of stitches is doubled again: Puncture each stitch twice and crochet one size at a time = 24 stitches. Round ending: Kettmasche.
mesh pattern
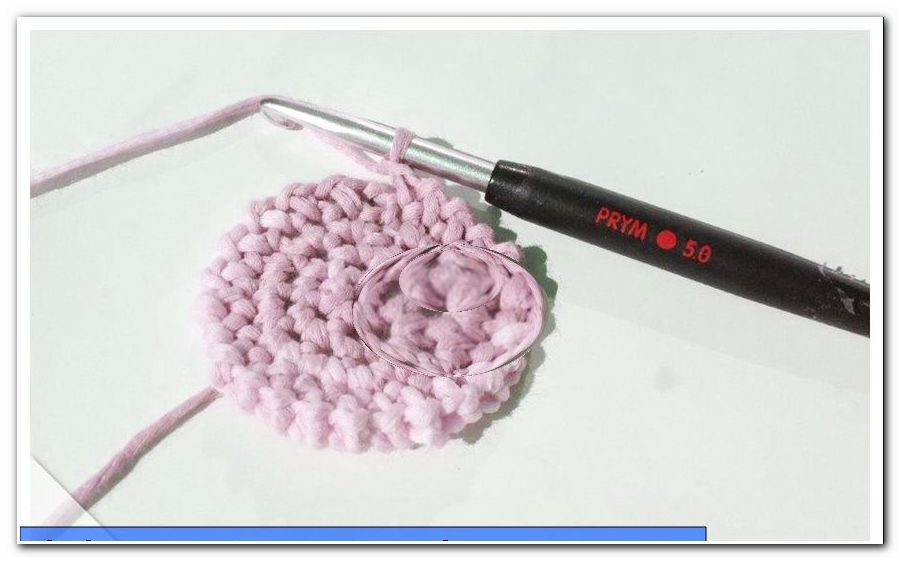
Round 4:
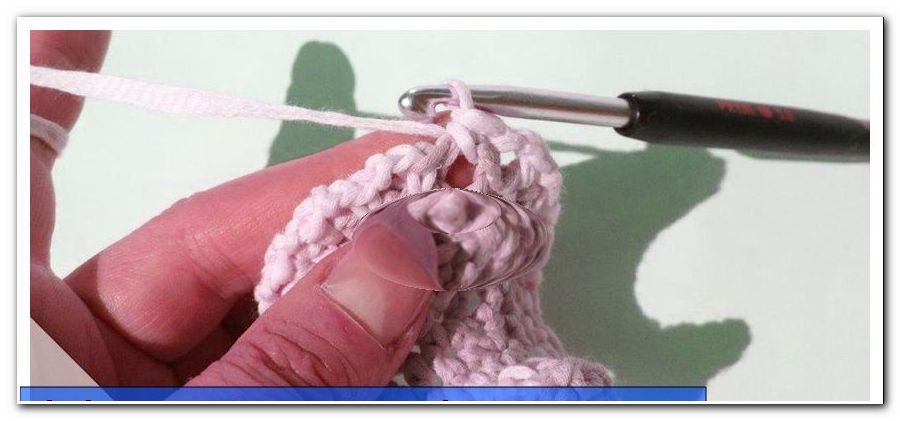
The net pattern already starts in this round. It consists of arcs of air. In the net pattern, the rounds do not have to be completed by a warp stitch. The pattern stretches without transition around the net and thus flows smoothly and easily from the hand:
* Crochet a mesh and a sturdy stitch * and repeat this crochet step a total of 24 times. The fixed stitches are each placed on the fixed stitches of round 3. The air meshes form the first small arcs.
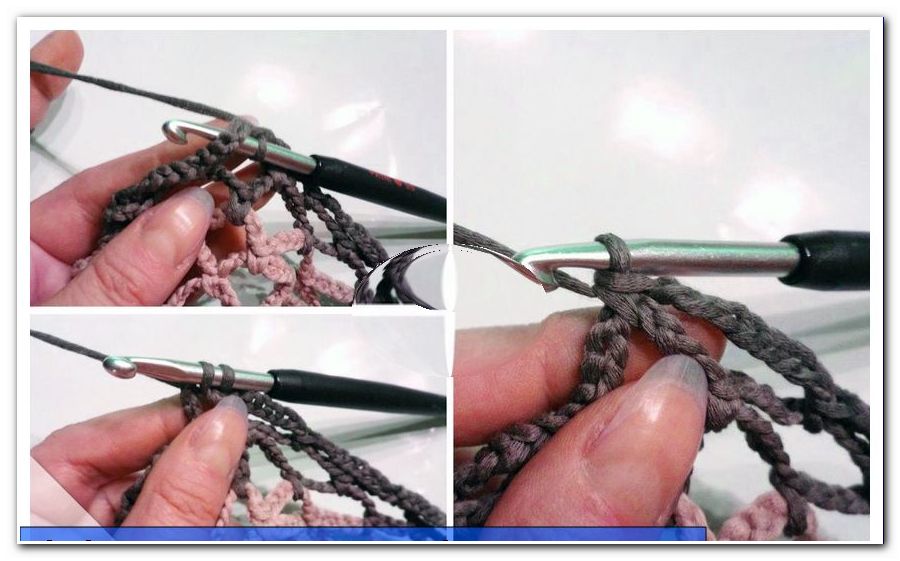
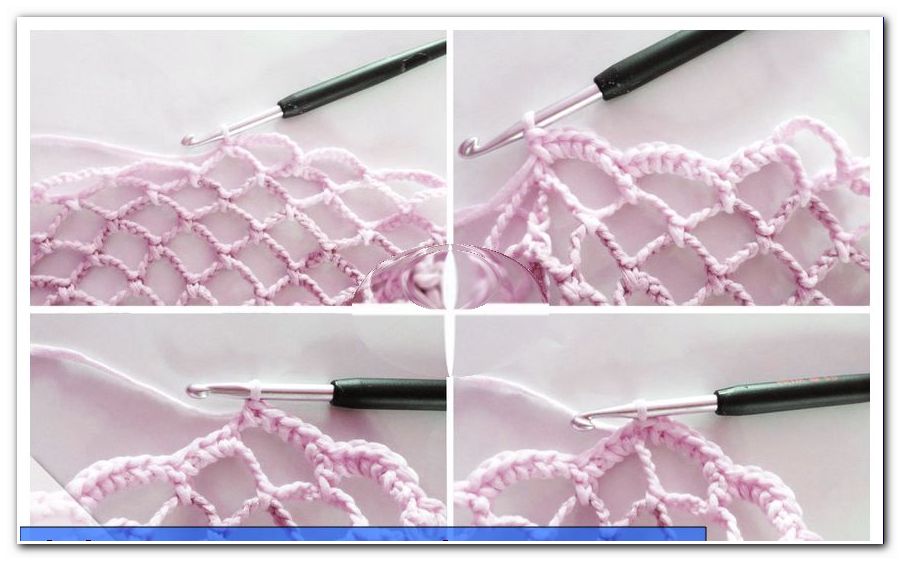
Round 5:
* Crochet 2 meshes and a single crochet * and repeat this crochet step a total of 24 times. The fixed stitches are simply hung in the mesh bows of the preliminary round or crocheted around the mesh bows of the preliminary round.
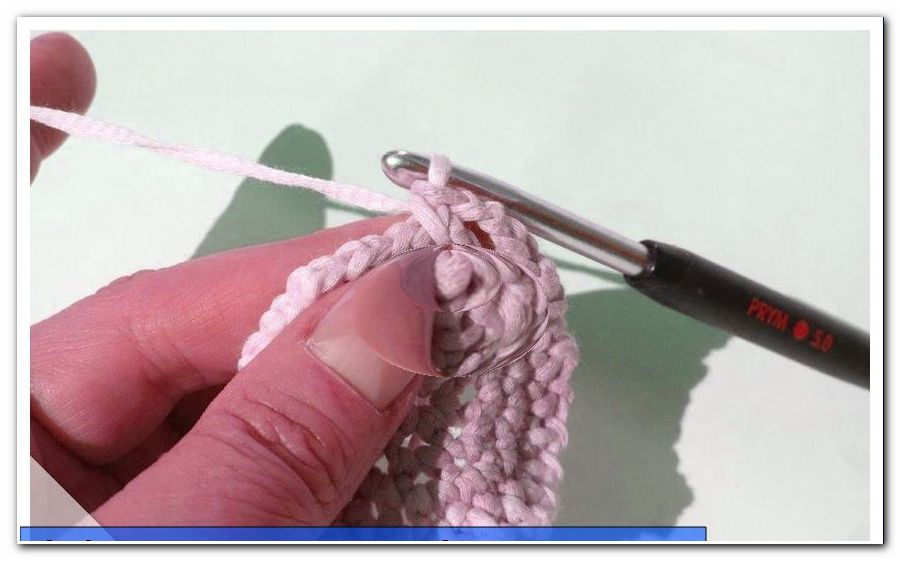
Here's how it works: Hook the loop into a loop: Do not pierce through the loop of the preliminary round, but pass the crochet hook under the loop, then pull the thread and crochet your stitch as usual. Make sure you do not let the thread run too loose during this crochet step. The hinged stitch should be as stable as possible and give the net the necessary strength.
Round 6:
* Crochet 3 meshes and a single crochet * and repeat this crochet step a total of 24 times. The fixed stitches are hung in the mesh arches of the preliminary round.
Round 7:
* Crochet 4 meshes and a single crochet * and repeat this crochet step a total of 24 times. The fixed stitches are hung in the mesh arches of the preliminary round.
Round 8:
* Crochet 6 air stitches and a single crochet * and repeat this crochet step a total of 24 times. The fixed stitches are hung in the mesh arches of the preliminary round.
Round 9 and all other rounds:
* Crochet 8 meshes and a single crochet * and repeat this crochet step a total of 24 times. The fixed stitches are hung in the mesh arches of the preliminary round.
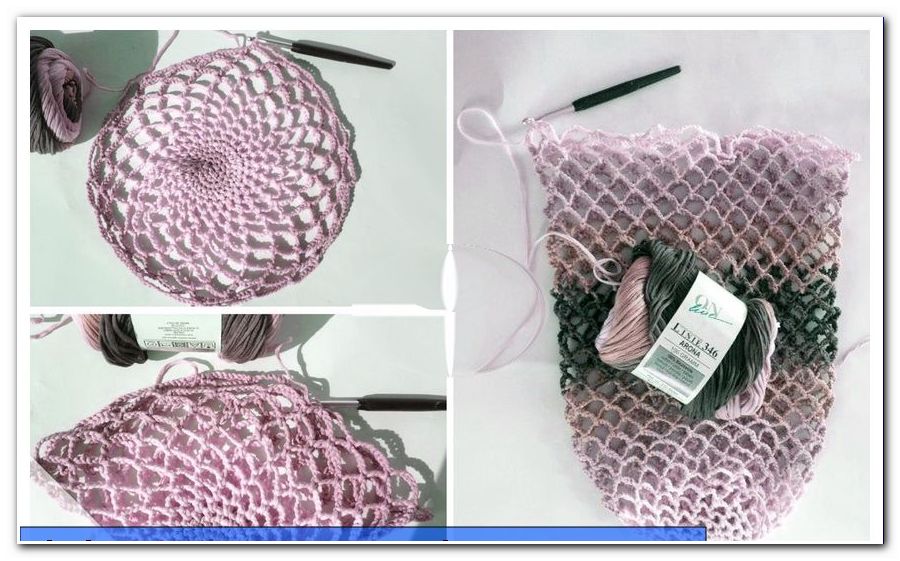
Graduation and Henkel
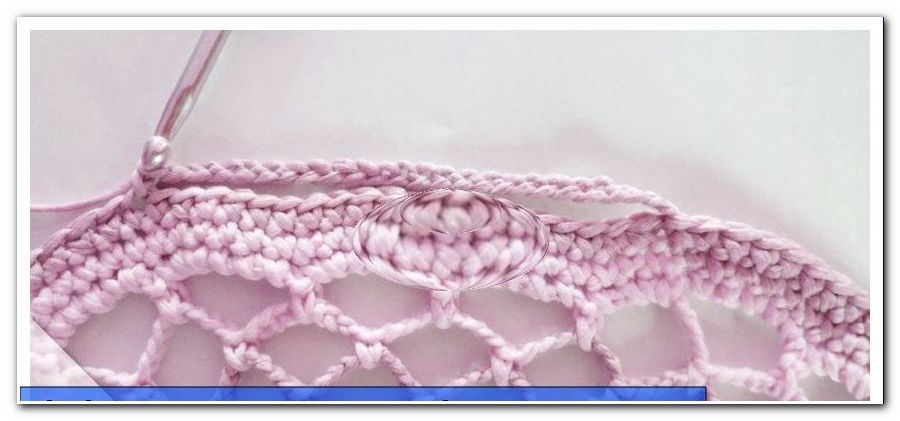
The mesh pattern makes the shopping bag flexible and stretchy. For finishing and sturdy handles, continue crocheting in tight stitches:
Finishing Round 1: Crochet 6 stitches at a time around each square bow - 24 x 6 stitches = 144 stitches. Close the round with a chain stitch.
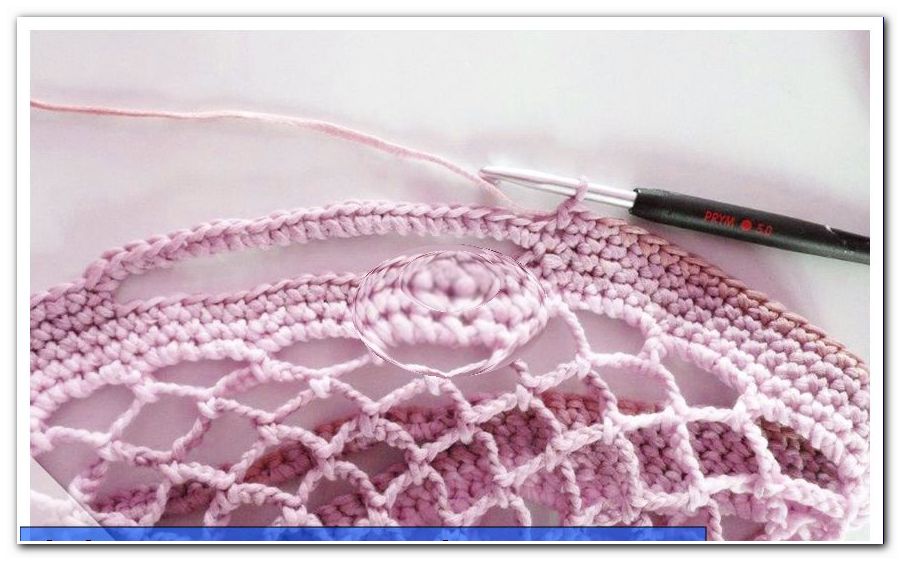
Finals 2 + 3: Crochet 144 sts and close each round with a slit stitch.
Final Round 4: Start with a 24-mesh Air Mesh. Skip 24 stitches. Then crochet 48 stiches. Now follows a second loop of 24 meshes. Skip 24 stitches and crochet another 48 stitches. This round transition remains fluent, so no chain stitch.
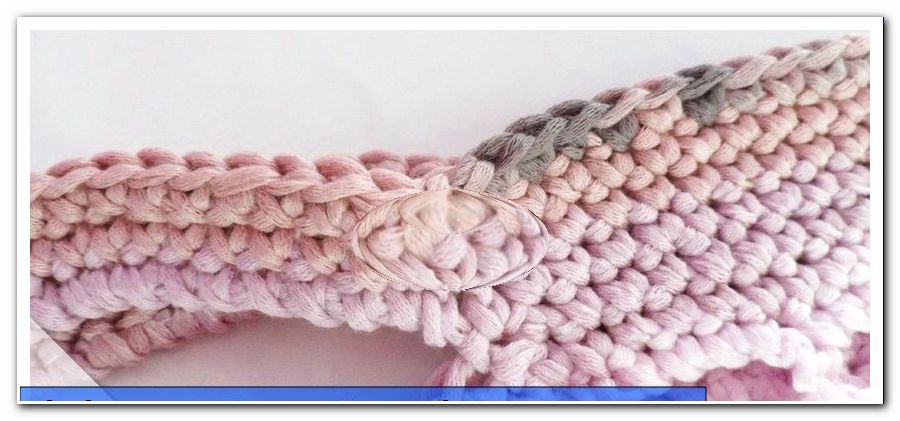
Finals 5 + 6: Crochet 144 Stitched Stitches (24 stitches around the first loop of bow, 48 stitches in the 48 stitches of the preliminary round, 24 stitches around the second loop, 48 stitches in the 48 stitches of the preliminary round). The rounds can - but not necessarily - be closed with a chain stitch.
Cut the thread, pull through the last stitch and sew on the pocket inside.
Quick Start - Crochet the net
- Round 1: 6 stitches into a string
- Round 2: double stitch = 12 fixed stitches
- Round 3: double the number of stitches = 24 stitches
- Round 4: Mesh pattern of arcs: 1 mesh, 1 strong stitch
- Round 5: Mesh pattern of arcs: 2 meshes, 1 strong stitch
- Round 6: Mesh pattern of arcs: 3 meshes, 1 strong stitch
- Round 7: Mesh pattern of arcs: 4 meshes, 1 strong stitch
- Round 8: Mesh pattern from airmesh sheets: 6 air stitches, 1 fixed stitch
- Round 9 to approx. Round 28: Mesh pattern from air mesh arcs: 8 air stitches, 1 fixed stitch
- Final round 1: 144 fixed stitches (each 6 stitches around each bow)
- Final round 2 + 3: 144 fixed stitches
- Final Round 4: 24 mesh loop to skim 24 stitches, 48 stitches, second 24 stitch loop, so skip 24 stitches again 48 stitches = 144 stitches
- Final round 5 + 6: 144 fixed streaks
Finished! Have fun crocheting !!!