Crochet Triangular Scarf - Free DIY Guide
- Material and preparation
- Make a stitch sample
- Crochet pattern for the triangle scarf
- completion
- Crochet and fringes
A triangular scarf is a practical accessory that should not be missing in the locker room of a lady. In cooler weather, it is thrown over quickly and brings pleasant warmth. Even in the evening on the couch you can cuddle in it. Anyone who values their own style and likes to work by hand has himself crocheted such a practical cloth in a short time and with little effort.
Yesterday and today
The history of the triangular scarf goes back to the Middle Ages. Even then, the simple women knitted warm sheets of sheep's wool as a coat replacement. In the following centuries, the triangular cloth was sometimes more or less in fashion. Today, it is still part of different costumes, but is also in demand again as a fashion accessory. Especially "in" are towels that were created in-house. So one is independent of colors and patterns of the current fashion and can crochet or knit a cloth, which fits optimally to the personal wardrobe.
Material and preparation
Depending on the purpose and the season you want to use your triangle scarf, you should select the material to be processed accordingly. For autumn and spring, light yet warm yarns that can be used with or without patterns are suitable. Winter, of course, requires thick, fluffy yarns that are best crocheted or knitted without great or extra fine patterns. Suitable are all yarns containing a high percentage of new wool. A woolen cloth keeps you warm in the cold season. Who loves it warm and fluffy, opts for alpaca wool. Due to its exceptional hair structure, it is ideal for cold, but also warmer days. Pronounced summer cloths are made from delicate yarns such as pearl yarn, cotton, silk and cashmere yarn. With this fine starting material you can work magic and filigree patterns.
If you have decided to crochet a triangular scarf by yourself, a little preparation is required. First, you need a pattern with instructions. This usually results in the size of the cloth and the required amount of wool. Depending on how complicated the pattern is, it can be extended or shortened to achieve the personally desired size. With the triangular scarf you should always measure from the right wrist, over the shoulders to the left wrist (of course, the other way around). This length is the approximate measure of the initially required chain of mesh. At normal size, the length is about 150 cm. The cloth is then crocheted from the broad side to the top.
For the production of the triangular cloth described below, the wick yarn "Clou" from Junghans is used. It is a thick, voluminous, yet light yarn of 75% pure new wool and 25% acrylic, which is also suitable for the washing machine. "Clou" is processed with a crochet hook of strength 6 to 8. The needle size to use depends on how tight you are crocheting. With the smaller needle you get a relatively firm crochet result, the big needle makes the handwork looser. So if you work hard, you should use the 8-needle to get a loose and fluffy cloth.
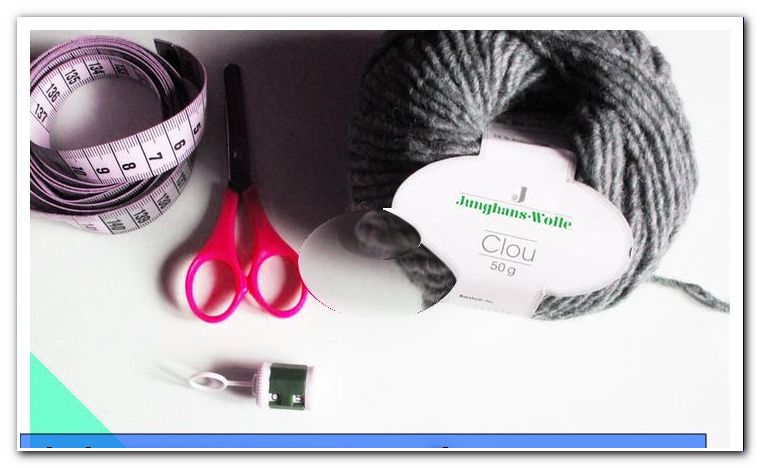
You need this:
- 400 g of wool, here the brand "Clou" by Junghans in the color silver-gray, but it can also be used a similar wool whose length of the used wool corresponds
- 1 crochet hook size 6 to 8 (works in the illustration are crocheted with the strength 7)
- 1 row counter (makes it easier to count the rows in the pattern)
- 1 pair of scissors
- 1 tape measure
- 1 thick sewing needle for sewing the threads
Tip: Before starting to work, it is advisable to crochet a stitch sample so that the finished fabric also meets the desired dimensions. Depending on which yarn and which needle size you use for your work, the required mesh size, the number of rows and also the appearance of the pattern may change. In order to obtain a working part in the size you want, it is therefore advisable to make a mesh sample before the actual start of work.
Make a stitch sample
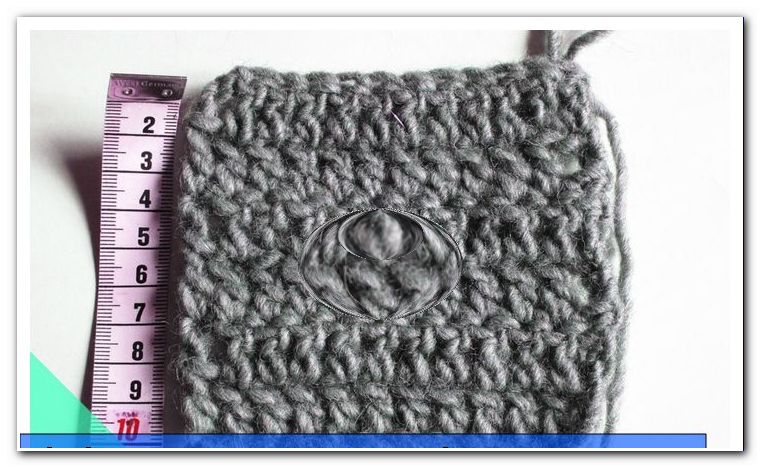
1. Refer to the information on the ball of yarn: z. Knit 10 cm smooth right = 11 - 14 stitches.
Note: The number of stitches is also valid for crocheting.
2. Crochet a square of 10 cm x 10 cm with this number of stitches. In "Clou" 6 rows of sticks make 12 air stitches, with needle size 7 crocheted the required square.
3. If the dimensions do not match the specifications after the completion of your sample, make another square and change the mesh size and possibly the number of rows.
It always depends on how hard you work and what wool and needle size you use. With thin yarn you need more stitches per centimeter than with thick yarn. If you work very hard, choosing a larger needle can positively affect the result.
Crochet pattern for the triangle scarf
After the satisfactory stitch test, you can start with the actual manual work.
The triangular scarf is crocheted on a basis of 150 air stitches with simple sticks. After 40 rows the cloth should be about 60 - 70 cm long. Finally, the cloth is crocheted with tight stitches and provided with a fringed border.
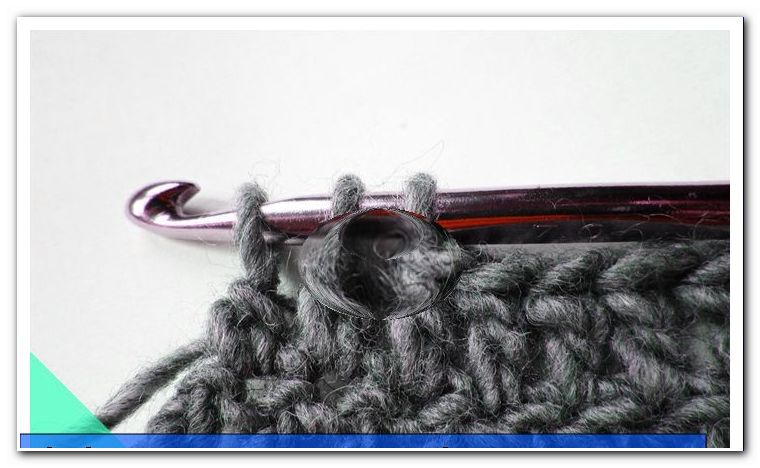
Row 1: Hit 150 Air Meshes and start with the chopsticks. The first chopstick is crocheted into the fourth loop of the air, the passed three stitches also stand for a chopsticks.
Would you like to know exactly what air meshes are and how to crochet them "> // www.zhonyingli.com/luftmaschen-haekeln/
In the following rows (up to row 36) there will always be a decrease of two stitches at the beginning and at the end of the row. That is, at the beginning of the row (from row 2) skip two stitches and make the first row of the row in stitch 3. At the end of the row the last two stitches are not provided with chopsticks. Instead, crochet a double stick into the last stitch in the row and knit it together with the last chopsticks. In the rows 37 to 40, only one stitch is removed on the right and left.
Row 2: After 150 sticks comes the first turn. After the last stick, poke again 3 air stitches and insert for the first stick of the second row into the third stitch of row 1. The passed two stitches are the first decline. Two stitches in front of the end make the last piece. This is followed by the double stick in the last stitch of the first row.
You get by the decreases each a "hole" and at the same time a slight slope. The double stick, as well as the spiral air mesh prevent a staircase from being created at the edge. The "hole", which you receive instead, will later be used for the fringe tufts.
Row 3: Now make three turns to turn and crochet the first piece into the third row 2 stitch.
Up to the 36th row you work in the same way as described above. Each row is always shortened by four stitches. Only from the 37th row on both sides only one stitch at the end of the row and at the beginning of the row is removed.
Row 36 End: As in the previous rows, crochet two stitches in front of the end of the row to make the last piece - at the end the double piece, then three spiral stitches.
Row 37: After the spiral air meshes skip a stick from the previous row and start again with the row of sticks. The decrease at the end of the row is done by crocheting the last two sticks. That is, the last two chopsticks are only half crocheted (all stitches remain on the crochet hook) and abgemashcht together.
Row 38, 39 and 40: ... are crocheted the same way. At the top of the scarf there are 2 stitches left. Cut the thread generously, pull it through the last loop of the air stitch and sew it up.
completion
Crochet and fringes
Crochet the entire cloth with a set of strong stitches (here, blue wool was used for clarity). This makes the edges more regular and stable. Now you can start with the preliminary work for the fringes.
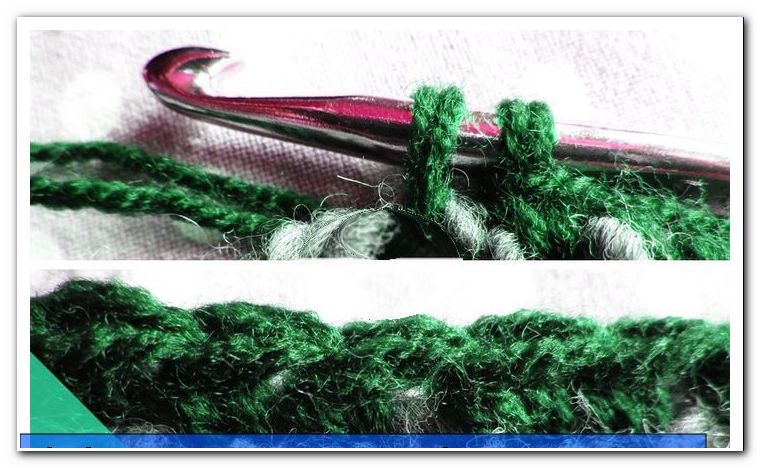
First count the "holes" on both diagonal sides of the cloth, because just as many fringe tufts are needed.
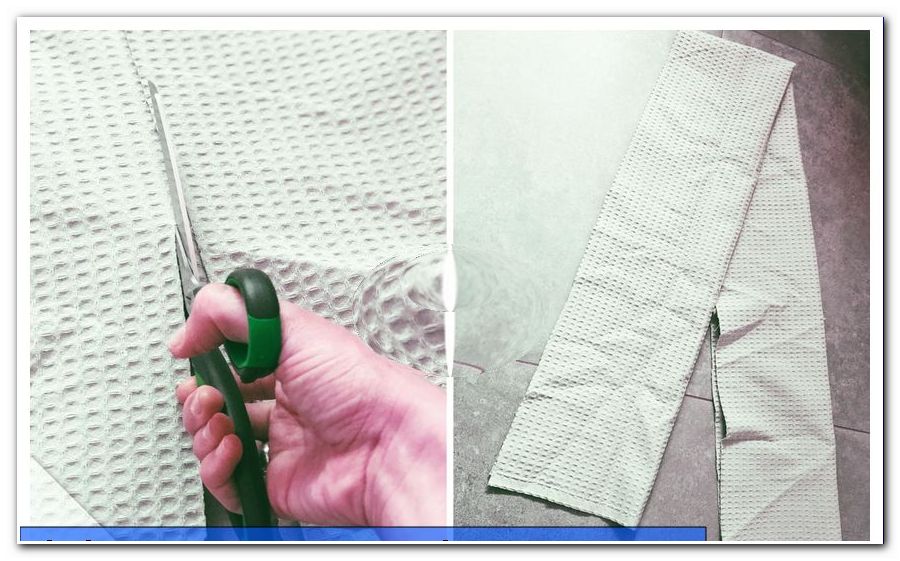
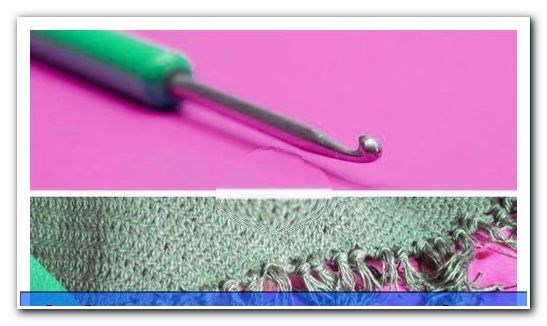
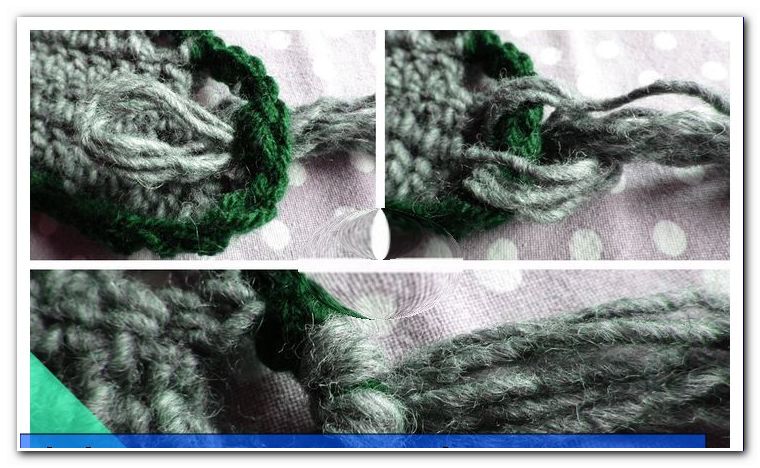
Cut four 30 cm long threads per tuft. The threads are now folded in half and inserted with the eyelet through a hole on the edge of the cloth. Pull the loop through all eight threads, lash down everything and the first fringe tuft is ready. Provide all the holes with the ornamental tufts. If you are not sure how to fix it, you can wrap each fringe with some twine, knot the thread and cut it short, or just hang the ends in the tuft. Finally, check that all fringes are the same length. You may need to balance something with the pair of scissors.
Tips for quick readers:
- Material 400 g wool, brand "Clou" by Junghans
- Crochet hook of strength 6 - 8
- Measuring tape, scissors, sewing needle and row counter
- Stop 150 air meshes, tip: stitch test in advance!
- Crochet 36 rows
- Acceptance from row 2, 2 meshes on both sides
- from row 37 - 40 each 1 stitch on both sides
- Rest mesh 2, sew on thread
- Crochet the cloth with sturdy stitches
- Fringe tufts made of four 30 cm long threads
- fold 4 threads in half each
- Pull the loop through the holes in the edge of the cloth
- Tighten the threads through the loop
- If necessary, trim fringes to the same length