DIY: Build and stretch stretcher with canvas yourself

- Build Stretcher - Instructions
- Stretch stretcher with canvas
- Important tips
- Hanging the canvas
- costs
- 1st example
- 2nd example
A stretcher is suitable as a picture frame for photo prints or painted pictures. It is a wooden construction over which you stretch a canvas. Softwood and textiles are used as materials, so that own production can be realized at reasonable prices. In our guide you will receive a step-by-step guide to building your own and to hanging up as well as various tips on using the canvas. The cost of the construction will be determined.
A stretched stretcher is suitable for those who like to paint and pursue their hobby with the help of a canvas. The images are presented in a proper manner and can be hung decoratively on the wall. It does not matter if you have a big or a small talent. The important thing is that you enjoy painting. With the help of stencils and spray paint everyone can act as an artist and create beautiful pictures on the canvas. However, landscape paintings and portraits are classics for the screen and self-assembly saves you money.

How stable are the stretcher frames ">
What do I do when the tension of the canvas diminishes over time?
If the tension decreases over time, then the so-called wedging is used. The frame elements are processed so that new tension is created. Insert wooden wedges into the frame's miter so that it widens and increases the tension.
How difficult is the construction of the stretcher?
For the construction of the stretcher a little experience in the field of woodworking is necessary. If this is available, then the assembly is not particularly difficult. However, you must always pay attention to the stability of the frame so that it has a long service life. In principle, you can rebuild the frames in any size. You have the choice whether you cut the stretcher bars yourself or fall back on ready-cut variants from the hardware store.
Build Stretcher - Instructions
For the construction of the frame you need the following materials / tools:
- 4 wooden strips in size 50 cm x 7 cm
- 4 flat dowels
- hammer
- wood glue
- frame clamping
- Biscuit Joiner
- Miter Saw
 Step 1: First, you must bring the stretcher bars to the correct dimensions. When buying the strips, make sure that they have the correct width. The length can be brought to the correct shape with the help of the saw. Then saw them to 45 degrees miter.
Step 2: Now cut a groove for the flat dowel into any miter-cut edge. Repeat this process with all corresponding edges.
Tip: If you do not want to connect by tongue and groove, then you can fasten the strips by means of pins and slots.
Step 3: Fill the groove with wood glue.
Step 4: Press the flat dowel into the wood glue.
Step 5: Slide the stretcher bars into each other.

Tip: Make sure the corners of the frame are square. You still have some leeway and can move the wooden elements against each other. For example, use a table edge to control the 90 degree angle.
Step 6: Tap the corners. Use the hammer for this, but use caution to avoid damaging the structure.

Step 7: Now stretch the frame to dry in a frame clamp with corner connectors. This gives the frame the necessary stability.
Tip: If you build the frame in a larger size, then it may be necessary to attach an additional cross brace in the middle.
Step 8: Wait for the glue to dry. Now you can cover the frame with the canvas.

 Stretch stretcher with canvas
 Stretch stretcher with canvas
 materials
- finished stretcher
- 4 wooden wedges
- canvas
- Electric tacker or hand tacker
- Cuttermesser
Step 1: Take the painted picture or canvas and place it on a table. Make sure the painted or painted side faces down. Now position the stretcher on the screen.

Tip: The important thing is that the stretcher is in the correct position with respect to the screen. Check to see if it is central. Take the protruding edge of the canvas and beat it over the edge. If you notice any deviations, correct the position.
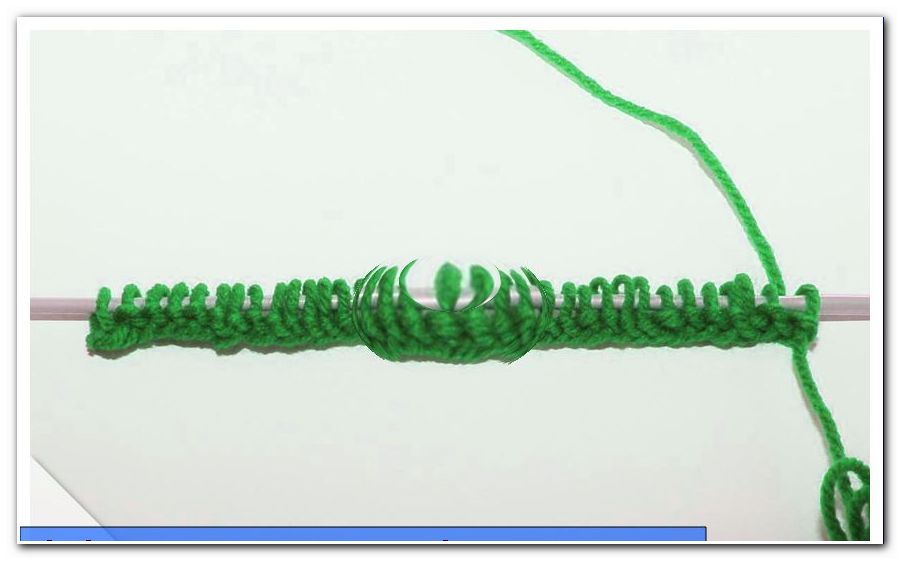
2nd step: Tack the long sides. Start in the middle and work your way to the end. The corners are initially not attached.

Step 3: Now string the baseboard and header in the same way as in step 2.
Tip: The canvas must be stretched and not allowed to curl. Even the edge must be smooth.
Step 4: Fold the protruding canvas together in the corners. Then staple the canvas to the stretcher at these points. In between check again and again whether the screen bulges, this must be avoided.

Step 5: Now it must be avoided that bulges form later on the screen. Put four wooden wedges in the corners. Then fix them with wood glue. Finished!

Important tips
What do I do if the canvas material is difficult to tension? "> The hanging of the canvas
In order to be able to hang the stretcher easily with the canvas, you must attach appropriate hangers on the back. These are usually available in the retailer in a set and include spike hangers, screws
and distance buffer. The spike hangers are particularly practical as they allow a secure hold and easy attachment. Since they are relatively wide contact surfaces, you can move the image when hanging something on the Zackenfläche and get a greater latitude. This will help you quickly find the right position, so that the picture is just hanging. Proceed as follows to attach the spike hangers:
1. Attach a spike hanger to the frame on each side. If it is a small picture, then a hanger in the middle may be sufficient.
Tip: It is especially useful if the hangers have a center mark. This makes them easy to install centrally.
2. Attach the spacer buffers at the bottom edge.
The advantages of the distance buffer:
The distance buffers serve to balance the distance between the wall and the image at the bottom edge. If they were not used, the picture would tilt down and hang crooked. At the same time, the air circulation behind the picture improves and mold formation is avoided. Another advantage is the gain in stability.
costs

For the cost of the canvas and the stretcher, especially the size is crucial. Below are two example calculations, one for a small area and one for a large area:
1st example
Stretcher and canvas with an area of 50 cm x 50 cm
A: Wood for the strips
The cost of the wood is around 4 to 7 euros per meter, depending on the chosen thickness and the type of wood. For a 50 cm x 50 cm frame, you will need four 50 cm long woods (the excess corners will be cut off at the miter). This corresponds to a total length of 200 cm, that is 2 meters. Thus, the cost of the wood is around 8 to 14 euros.
B: canvas
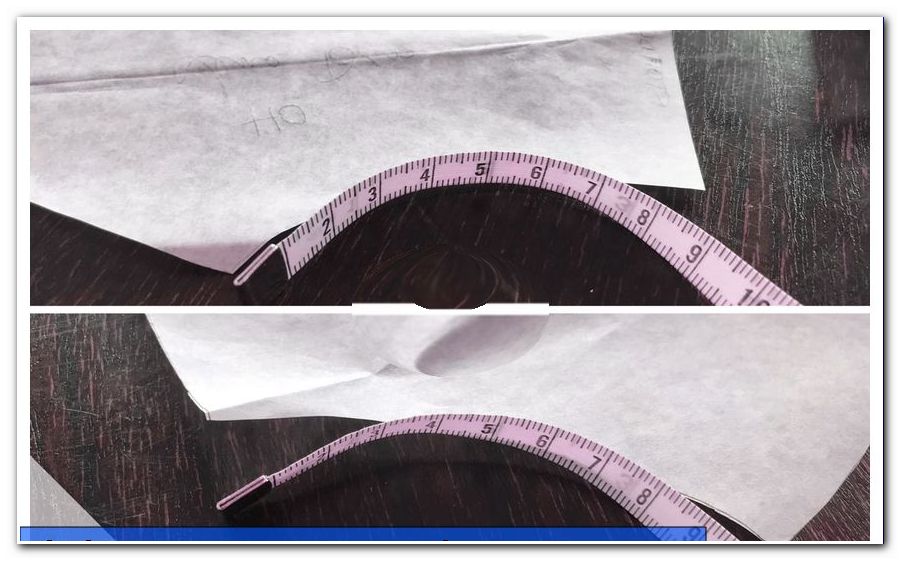
To determine the cost of the canvas, you must first calculate the area. Suppose you let the fabric on the sides each 5 centimeters survive, in order to be able to turn it later. Then the total size of the linen increases to 60 cm x 60 cm = 3600 cm² = 0.36 m²
If one calculates with expenditure in the amount of 3 to 5 euros per m² of canvas material, then the following bills result:
cheap: 0.36 m² x 3 euros = 1.08 euros
expensive: 0.36 x 5 euros = 1.80 euros
C: Accessories
For the accessories you should calculate around 5 euros, the primer not included. This beats at around 10 euros per bucket to book, but is sufficient for several screens.
D: The total cost
Since the wood costs about 8 to 14 euros, the canvas 1.08 to 1.80 euros and the accessories about 5 euros, the total cost is around 17 euros.
2nd example
Stretcher and canvas with a surface of 100 cm x 100 cm
A: Wood for the strips
To build the stretcher, you need a total of 4 x 100 cm = 400 cm wooden strips. This corresponds to a total length of 4 meters. If one calculates in this case with expenditure in the amount of 4 to 7 euro per meter wood, then results in costs in the amount of 16 to 28 euro.
B: canvas
There are big differences in the prices for the canvas material. If you buy the material cheap, then you have to expect around 3 euros per square meter. However, in this case, the quality is usually not very high. It is better to invest a little more money and select products from around 5 euros per m². When buying, be aware that you need to turn the fabric on the back and buy a little more.
Our 100 cm x 100 cm canvas has an area of 1 mx 1 m = 1 m². If you want to hang the fabric about 7 centimeters in order to be able to turn it over well, then you must also calculate this area. Since both the top and bottom as well as left and right each at least 3.5 cm more material is needed, the size of the required fabric is 1.07 cm x 1.07 cm. In this case, the total area is 1.15 m². You now have to multiply this value by the cost per m²:
cheap: 1.15 m² x 3 euros = 3.43 euros
high price: 1.15 m² x 5 euros = 5, 72 euros
C: Accessories
You can also buy the accessories cheaply. The Zacken hangers are available in a set for about 2 euros, with a package for a picture is sufficient. Overall, the cost of the accessories is around 5 euros.
D: The total cost
Because the wood costs 16 to 28 euros, the canvas 3, 43 to 5, 72 euros and the accessories 5 euros, you have to expect expenses of about 31 euros.
Tips for quick readers
- Bring 4 strips to the appropriate size
- Cut to 45 degrees miter
- Mill the groove
- Fill groove with wood glue
- Press in the flat dowel
- Slide stretcher bars into each other
- Ensure correct seating
- knock firmly
- Place frame on canvas
- note central position
- Firmly staple the canvas
- Prime canvas
- Attach the hanger on the back
- Insert the spacer buffer at the lower edge