Handicrafts with chestnuts and acorns in autumn - Chestnut figures & Co

- Collect chestnuts and acorns
- Handicrafts with chestnuts and acorns
- Making chestnut males
- sheep
- owl
- spider
- Autumnal wreath of chestnuts and acorns
- Make autumn picture frames
- Making chestnut males
One of the most popular crafting ideas in autumn is the processing of natural materials such as chestnuts and acorns. Whether the classic chestnut male or an autumnal wreath, with the nuts you can make numerous variations of autumn decoration. Show your children the fall of collecting and crafts - you and the children will enjoy the autumn crafting so much that it is sure to become the annual tradition. Here are a few crafting ideas for crafts with chestnuts and acorns.
Collect chestnuts and acorns
Before you can start crafting, chestnuts and acorns must first be collected. Of course, you can only gather chestnuts and acorns in autumn. From mid-September, you can occasionally find chestnuts and acorns that have already fallen from the tree.

Even though the fall is often gray and rainy, a walk through the park or forest can still be nice. Equipped with a thick jacket and rubber boots, collecting can begin.
Chestnut trees and oak trees can be found not only in the forest, but often in the city. The advantage of collecting in the city - there are hardly any animals that snatch the fruits from you in the nose. Walk around the area with your eyes open, and you will notice that chestnuts and oaks can be found everywhere, as well as their fruits.
Now fill your bag or the basket as needed - beware: the shells of the chestnuts are equipped with many small tips that prick very hard. Just instruct your children before collecting.
After collecting, you should wash your hands because the fruits were lying on the ground and in parks often dogs are traveling to do their business there.
Then spread the chestnuts and acorns on newspaper at home. After cleaning and drying, you can already start crafting.
Handicrafts with chestnuts and acorns
Making chestnut males
You can now give free rein to your imagination. The round shapes of the chestnuts and acorns, as well as the cones of the acorns, are perfect for crafting figures and animals. Often only a few materials are enough to make funny and cute chestnut males.
You can even buy small sets in specialist shops, consisting of a hand drill, a chestnut holder and toothpicks. Especially the chestnut holder and the drill make crafting a lot easier. But even without this craft kit succeed you beautiful chestnut figures.
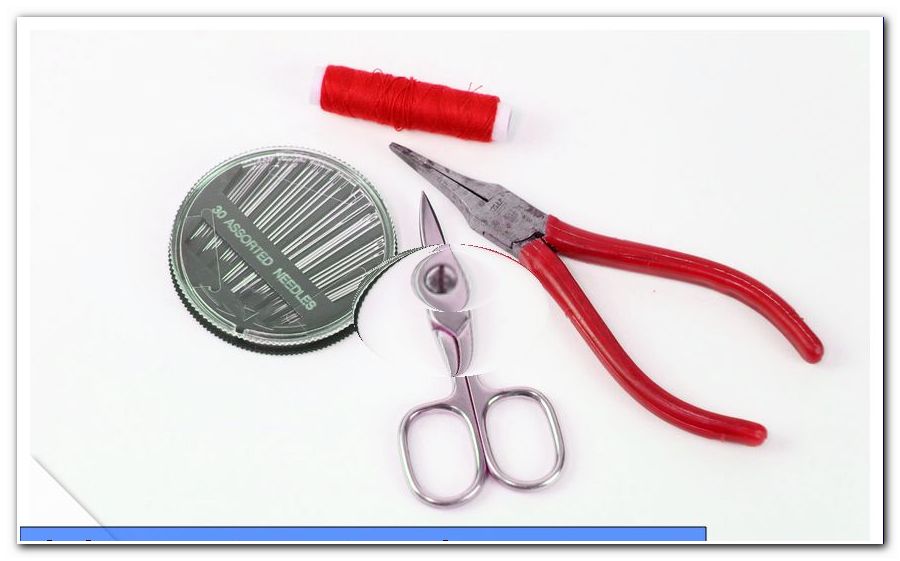
You need:
- chestnuts
- acorns
- Matches or toothpicks
- if necessary scissors or pincers
- Hand drill or pointed needle
- Wackelaugen
- hot glue
- various crafting and decoration material
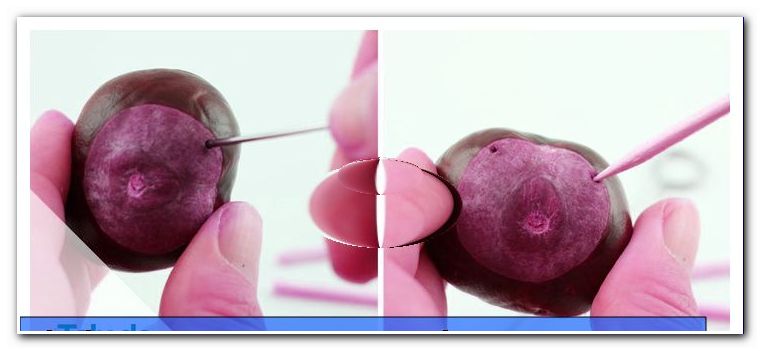
Once you've cleaned the chestnuts and acorns, you can start digging. The classic among the figures is tinkering with matches as legs and arms.
For this you prick with a sharp roulade needle in the chestnut. If it is still a soft, fresh chestnut, the holes should be feasible with a wooden skewer. Place the holes right where the legs and arms will be later.
Before the legs or arms of the chestnut figure can be attached, the heads of the matches must be separated - with a strong pair of scissors that should be feasible. Otherwise, a pair of pliers is sufficient. Once done, you can put the matches in the holes.

Heads, hats or other elements of the figures can now be attached to the chestnut with hot glue. Another variant of the compound is simply to stick together two chestnuts with a match as a link.
Now your creativity is in demand. Craft males, animals or even whole houses in this way.
sheep
Among other things, we chose a sheep. This consists of a chestnut and an acorn with cones. Four matches form the legs and the head was glued to the body using hot glue. White cotton finally completes the picture. Then two sweet Wackelaugen were glued - finished is the chestnut sheep.

owl
The owl may not be missing in autumn and on Halloween, of course. All you need for a chestnut owl is a chestnut, two acorn hats, wobbly eyes and some crafting felt. With hot glue, the Wackelaugen be glued into the cap - so the owl eye can be placed on top of the chestnut and appear so much the same size. Then you can cut beak, wings and feet from craft felt and stick to the chestnut - done! Is not she cute "> 
spider
This funny chestnut spider is definitely perfect for Halloween. You need a big chestnut, two shaky eyes and eight paperclips for this chestnut male - we are not that strict about the number of spiders, so six clips are enough. Use a thin needle to prick six holes on the underside of the chestnut. Then bend the paper clips and put the ends in these holes. Finally, the feet must be aligned only that the spider stands by itself.

Autumnal wreath of chestnuts and acorns
You need:
- chestnuts
- acorns
- other autumn fruits, branches or twigs
- Styrofoam ring with the desired radius
- Crepe paper or acrylic paint
- hot glue

Step 1: At the beginning, the Styrofoam ring is painted or covered with crepe paper. A dark shade of green is best for this. In this way, no bright white shimmers later through the gaps and the wreath looks like a piece.

2nd step: After the paint has dried, it's time to decorate. Now, starting at the bottom of the ring, place chestnuts, acorns, small cones or other autumnal natural materials with hot glue on polystyrene. Continue until the entire ring is decorated and no large gaps are visible.

Tip: When decorating, work from the outside to the inside. Always put a chestnut on the previous one. If you take this into account, there are no unwanted large gaps between the chestnuts.
Finished is the chestnut wreath. You can now integrate this into your autumn table decoration - a candle in the middle and the decoration is perfect. But also wreath on the door he is doing very well. Simply fasten the wreath to the door with a wide and sturdy ribbon. The hanging wreath can be supplemented with other loops and ribbons.

Make autumn picture frames
You need:
- chestnuts
- acorns
- Stable cardboard
- Ruler and pencil
- Scissors or craft knife
- hot glue
- double-sided and normal tape
Step 1: At the beginning, you will need a large enough piece of cardboard - this will be cut to the correct format according to your desired frame. Of course, if you already know which motif you want to frame, this format should also be taken into account.
Step 2: Then mark the frame with ruler and pencil - in our case it has a width of 3.5 cm - the motif has a size of 8.5 cm x 13 cm.
Step 3: Now the image is glued to the cardboard exactly inside the frame with double-sided adhesive tape.

4th step: Then it's time to glue and decorate. Attach all sorts of natural materials such as acorns, chestnuts, wooden discs or even small cones with hot glue to the frame. Put the individual elements in a jumbled or ordered way - you can let your creativity run wild.
Step 5: Once the frame is completely covered, you can now attach a foot when you want to set up the picture. For this you cut a triangle out of the cardboard. Then attach it to the back with enough tape - place it at the bottom edge of the picture just in the middle.
To hang the picture, simply attach a hook to the back wall.

The autumnal frame and the autumn motif are finished - this can be put up as well as hung on the back wall with a small hook.