Instructions: Napkin technique on wood and glass
- Instructions for the napkin technique
- Tips on napkin technology on glass
- Tips on decoupage on wood
- Other recommendations
- Make napkin glue yourself
The so-called napkin technology has been THE new trend in the creative and handicraft sector for several years now. Basically, it means nothing other than remodeling old items to new visual highlights. All you need is the top pulp layer of a pretty napkin and several (inexpensive) tools such as scissors and glue. In no time, wood and glass accessories receive a completely fresh design and become eye-catchers in your premises. We explain how the napkin technology works!
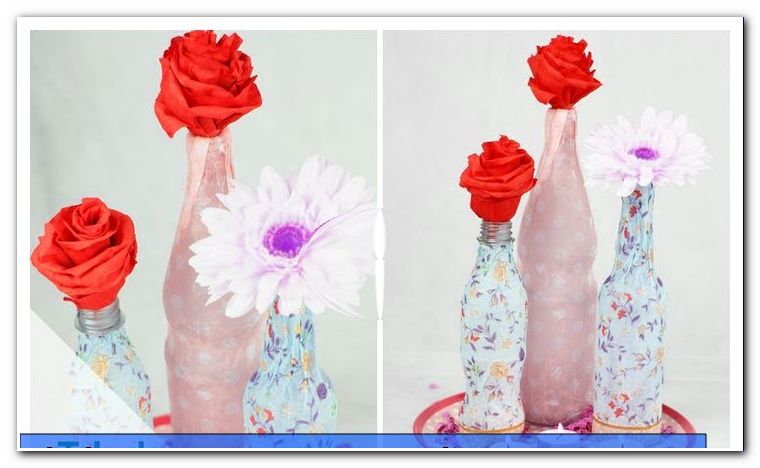
It is simple, fun and offers innumerable possibilities: the napkin technique, a creative hobby with meaning. Whether simple wood or simple glass objects, each product made from these materials can be upgraded with a fancy napkin immensely. As for the colors and patterns, there are hardly any limits. Thanks to the sheer endless selection of serviceable napkins, you will surely find your desired motifs to transform wood or glass surfaces elegant, playful, romantic or suitable for the current season. In any case, the napkin technique creates unique pieces of jewelery that spice up your home or make a lot of fun as individual gifts for other people. Our detailed DIY guide will give you a general guide to decoupage technology that you can apply to a variety of surfaces. We also provide you with useful tips on using the method on wood and glass.
Instructions for the napkin technique
You need this:
- Object to be decorated by means of napkin technology
- Paper napkins with the desired motif, ornament or other pattern
- special napkin glue or homemade napkin glue
- Bristle brush (the smaller the areas to be worked, the finer the bristles should be)
- scissors
- pen
- tape measure
- a light acrylic paint and another brush to prime the (dark) object (optional)
- Decoration elements such as glass stones, scattering glitter and the like for decorating
Tip: If you do not have a suitable wooden or glass object at home, but still want to try out the decoupage technology, look at the best in a well-assorted craft shop (online or locally). There are commonly various products available that are designed for this purpose. In addition, in such a shop you will also receive the obligatory napkin adhesive as well as acrylic paint, bristle brush and various decorative elements.
How to proceed:
Step 1: Transfer the contour of the wooden or glass object to the napkin!
The napkin should be applied precisely and wrinkle-free on the object to be processed. This is most easily achieved if the piece of napkin already has approximately the right size before its actual use.
a) Small item: Place the utensil on the back of the napkin. Then pick up the pen and transfer the outline of the accessory to the napkin. Calculate a bit more margin at the edges. Then cut the napkin piece along the recorded line with sharp scissors.
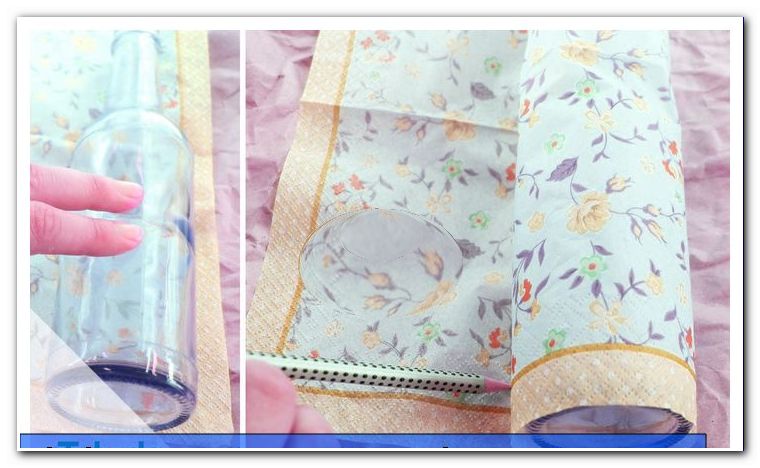
b) Large item: Estimate or measure with a tape measure the size of the napkin pieces to cover the item as desired. In turn, plan on adding some extra to the sides. Cut out the napkin pieces.
Note: For non-plan objects such as a wooden box, you must of course also include the side surfaces.
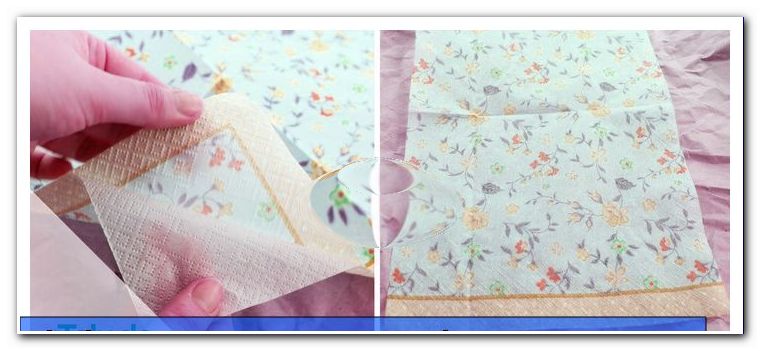
Step 2: Remove the top napkin layer from the two lower layers!
From the cut out piece of napkin, carefully remove the top, colored printed layer. With this you continue to work. The two lower layers, on the other hand, can be thrown away. They are no longer needed.
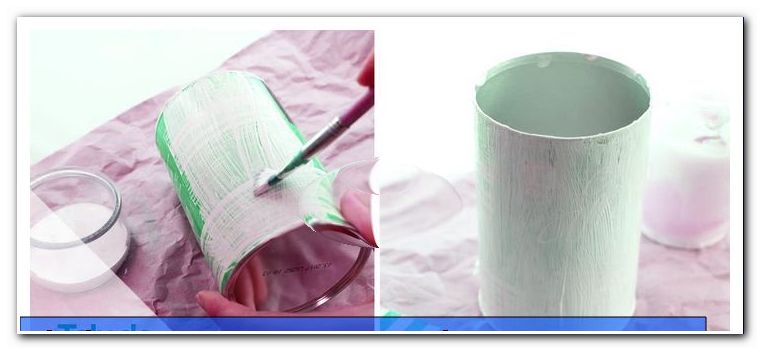
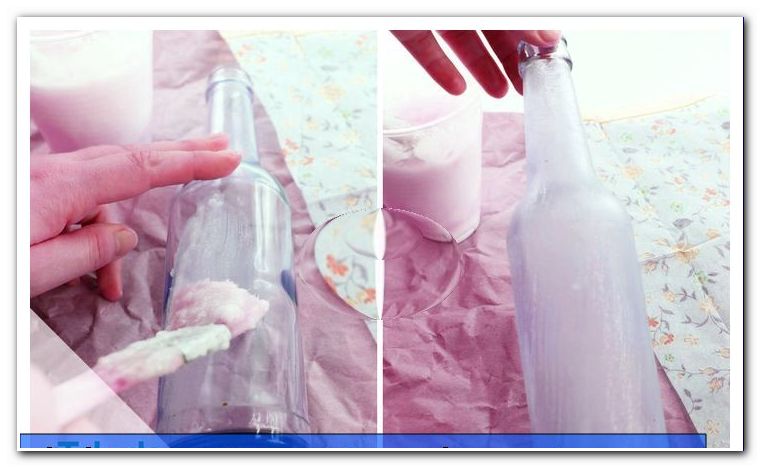
Step 3: Prime the object to be decorated with light acrylic paint and a brush!
This step is optional or only to be performed if necessary. If you are dealing with a darker object, you should prepare the surface of the accessory with light acrylic paint. Otherwise, it may happen that the motif or pattern of the napkin on the utensil no longer comes out properly. Some tips for this step:
- The brighter the napkin you want to use, the more the acrylic paint used to prepare the item will shine through. This means that you should carefully choose the shade of the primer: If the napkin has white surfaces that will later still emit in this couleur, it is advisable to apply white acrylic paint. On the other hand, if the napkin presents itself in a beige shade, you can choose a similar shade as the base color to achieve a harmonious result. Caution: too dark a primer can cause, especially with patterned napkins, that the motif is hardly recognizable later. So take a little time to consider exactly which tint fits best.
- Paint the surface with a brush and light acrylic paint. Then let it dry well before proceeding to the next step.
Step 4: Apply the napkin adhesive generously to the surface to be decorated!
Take the napkin glue and the bristle brush to hand. Brush the surface to be decorated generously and evenly with the adhesive. Let it dry briefly - but not too much!
Tip: To make clean edges later, you should always brush the surface to the very edge.
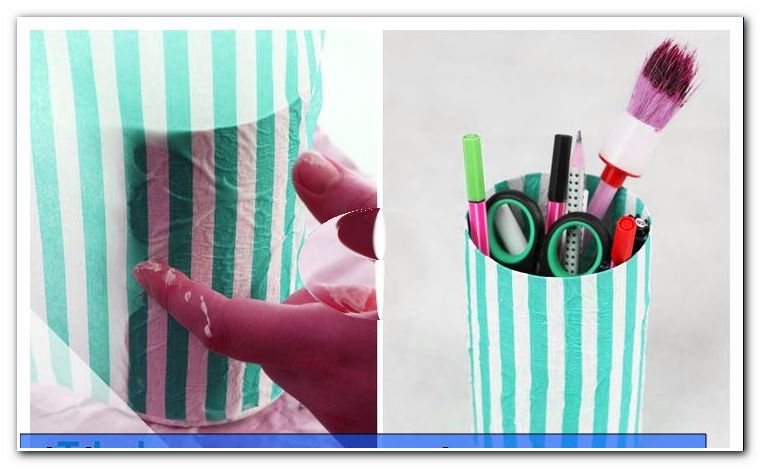
Step 5: Gently glue the pre-cut piece of napkin to the item!
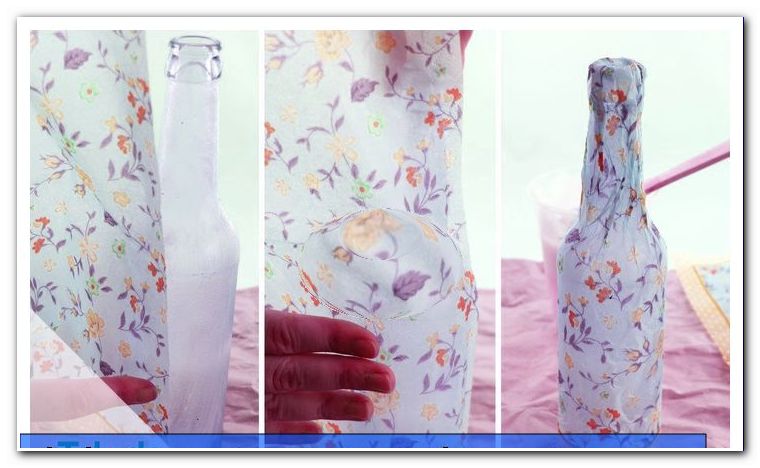
Once the napkin has been placed, hardly anything can be changed in its position without damaging it. So make sure to place the napkin in your desired direction from the beginning. If necessary, consider symmetries in the pattern. Once you have placed the napkin on the object, you must gently press it with your fingers. Starting in the middle of the napkin, grope slowly but evenly along the edges. On the way from the center to the edge of the napkin you will probably encounter several bubbles. These should be gently rubbed out to the edge. In short, working from the middle to the edge is the best way to achieve a nice result.
Tip: If the napkin is not sitting properly, you should not try too many corrective actions. In the wet state, it happens quickly that cracks and holes form in the napkin. This should be avoided, otherwise your artwork is destroyed.
Step 6: Let your work stop for a while and dry the glue completely!
At this point you can devote yourself to other activities. Because as soon as the napkin sticks to the object as desired, you should not touch your little work of art for the time being. The napkin adhesive must be completely dry before proceeding to the next step. Otherwise there is a risk of cracks and holes or unsightly waves in the napkin.
Tip: Do not worry if you still see blisters. You can fix these places relatively easily later.
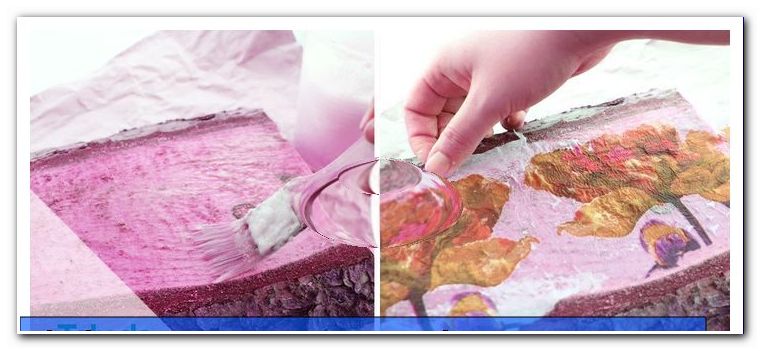
Step 7: Now paint the napkin yourself with napkin glue and bristle brush!
After the glue has completely dried, apply the next layer - this time, however, directly onto the napkin. Take again the napkin glue and the bristle brush to hand. Spread the glue over the entire motif. Small bubbles can be dabbed with the brush a little - so they usually disappear. The wet glue has another purpose: If you want, you can stick on the napkin now one or the other decorative element, such as rhinestones or glitter.
Tip: For this second layer, it's especially important that you really apply the glue all the way to the edge. This is the only way to prevent the latter from later fraying.
Step 8: Correct the edges with additional glue and / or scissors!
If the second layer of the napkin adhesive has also dried, you can carefully cut off the protruding napkin pieces with a sharp pair of scissors. Finished!
Note: You may still discover spots where glue is missing, despite all the focused measures. This often happens around corners and edges. Then you should rather apply a little glue again and wait until it has dried before you remove the protruding edges. This is the only way to get a work of art with clean processed edges.
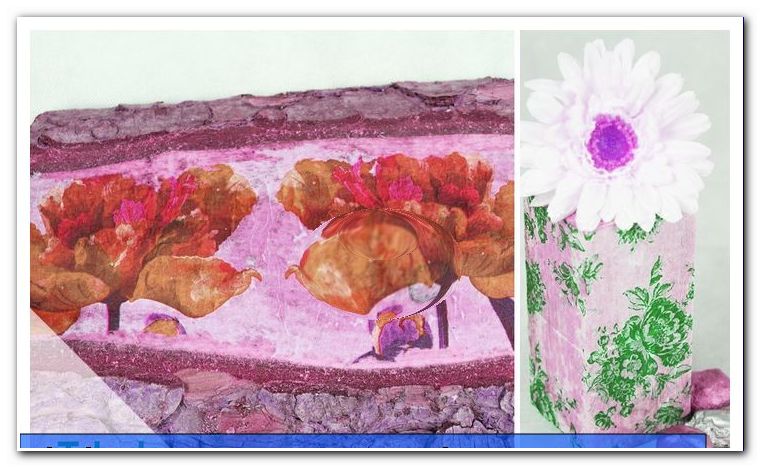
Tips on napkin technology on glass
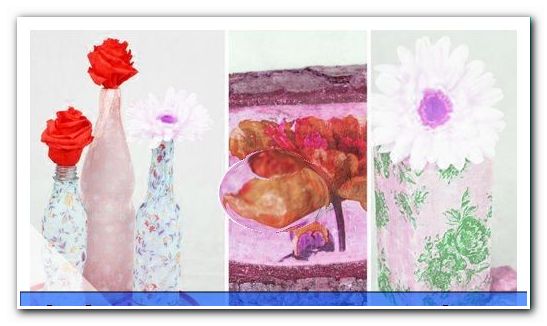
- With the napkin technique you can decorate a variety of glasses wonderfully. How about, for example, a noble decorated lantern for romantic hours for two?>> Tips on decoupage technique on wood
- Turn a wooden box into a beautiful colorful tray, decorate a traditional wooden chair with colorful motifs or redecorate a wooden jewelery box: Thanks to the simple napkin technique, you can stylishly spice up a variety of wooden objects.
- Use the napkin technique according to the instructions above. At the very beginning you should sand the wood product with sandpaper to make up for minor bumps and rough the surface a bit. Then remove the sanding dust and dirt from the wooden construct. In order to avoid a falsification of the napkin motif, it is advisable to use a colorist matching acrylic lacquer as a primer. At step 4, you may need to apply two layers of napkin glue before sticking the napkin pieces. This is necessary especially for untreated wooden surfaces. Finally, you can spray the entire wood object with clear coat to protect the decoration accessory permanently.
Other recommendations
+ Cost and time involved are limited in the creative work with the napkin technology. Allow about 5 to 15 euros per piece (depending on whether you already have materials at home) and about 20 minutes net working time.
+ You do not need to confine yourself to a special napkin pattern. Use different designs for one and the same object to create a motley work of art.
+ The napkin technology acts as upcycling of a special kind: Old objects that "rust" for some time in your cellar or storeroom can be spiced up and reused.
+ Thanks to the simple steps, the napkin technique is not only suitable for teenagers and adults, but also for older kids from the primary school age. The crafting by this method is therefore a great occupation at the children's birthday or the like.
+ The napkin technique works on wood and glass objects, but also in ceramic, clay, wax or fabric accessories.
Make napkin glue yourself
If you want to save the money for the often expensive napkin varnish and glue, you should try this once. With few resources, you can make napkin glue yourself and save money.
You need:
- wallpaper paste
- wood glue
- old vessel, old spoon and lockable can
To start, stir a cup of wallpaper paste - note the stated proportions on the packaging. This compound can then be filled into the sealable box.

Now take half a cup of wood glue and add it to the wallpaper paste. Stir everything well. The cup should be cleaned as soon as possible.
Done is the DIY napkin glue!Tip: The glue can now be used for the napkin technique on glass, clay, plastic or wood. Objects that are heated, such as candles or porcelain, should rather be processed with the special adhesive.
Tips for quick readers:
- Decorate wooden and glass objects with napkin and glue
- Cost: between 5 and 15 euros per piece
- Time required: about 20 minutes net working time
- Prepare napkin and surface (cleaning, primer)
- Apply napkin glue to the substrate
- Stick napkin on and press from middle to edge
- Allow to dry and apply second layer of glue to napkin
- possibly decorate with glitter stones or glitter
- Make napkin glue yourself to save