Renovating old doors - painting and varnishing wooden doors

- Remove old doors from paint and paint layers
- Grind the door
- Paint, varnish or oil wooden doors "> Paint
- glaze
- oil
- Step 1 - Masking
- Step 2 - Apply primer
- Step 3 - Sand the primer
- Step 4 - Apply varnish
Unfortunately, old wooden doors are usually covered with numerous layers of paint and / or varnish so that their original beauty is no longer noticeable. Before they are treated again with a paint or varnish, they must first be freed from the old layers. In most cases, not all of the old paint and paint residues must be removed before repainting, only the loose layers are important. This is not difficult, but usually labor intensive and time consuming. If you have more than one door, you have to invest a lot of time and energy before the old doors shine in new splendor.
Remove old doors from paint and paint layers
Of course, the door must be unhooked. In addition, door handles, locks and hinges must be removed. It is best to put the door up, and higher, at working height, which is more comfortable for the back. Two bucks are ideal to carry the door. Thick cardboard is placed under the door, just to protect the back. It's best to work outside, because the smell that comes off when peeling off is very unpleasant. It is sufficient if the door frame, which is logically not removable, is subjected to the special treatment. This is not only very unpleasant for the nose, but it also produces toxic fumes and are also not good for the eyes. Open windows are therefore very important.
Old paintings and coatings can be removed in three ways, with chemicals, hot air or mechanics.
Tip: Unfortunately, many strippers still contain dichloromethane. Dealing with it is dangerous. Again and again there are accidents. It is best to work with protective suit and breathing apparatus. It is better, however, not to use these funds, there are acceptable alternatives.
- paint remover
- ideal if many layers are to be removed
- However, notches in the wood often occur on uneven surfaces
- not for sensitive surfaces
- Remove the last layer of paint better with sandpaper, because the wood layer with the milling machine will inevitably be damaged.
- When milling, toxic heavy metals may be present in the dust

- Heat gun
- ideal for corners, edges and curves
- work very carefully and do not approach too close to the door, otherwise the treated area will quickly become charred.
- 300 ° C is usually sufficient
- It is best to proceed in a circular motion
- Heat varnishes selectively and then remove with spatula
- previously practice dealing
- regularly remove loose paint residues with the broom
- Risk of burns for craftsmen
- When heated, toxic heavy metal vapors may form

- Chemical paint remover
- ideal for fine embellishments and elaborate profiled woods
- two types of strippers
- Alkalis - based on alkalis, good for alkyd paints and oil paints, not for acrylic paints, often perform poorly in tests. Favorable with very old alkyd resin paints, but bad with modern paints. Can make the skin go bad
- Solvent-based agents - universal for all paint types. Mostly the most effective release agents. After about 2 hours you can remove about 3 coats of paint or varnish with the spatula. However, the environment and the health burden
- usually gel-like substance, which is applied with a brush and must act according to the nature of 1 to 24 hours
- Then remove the layers with the spatula or carefully level off
- at the end, clean the areas that have been treated with solvent well with water, so that the new layer will last.
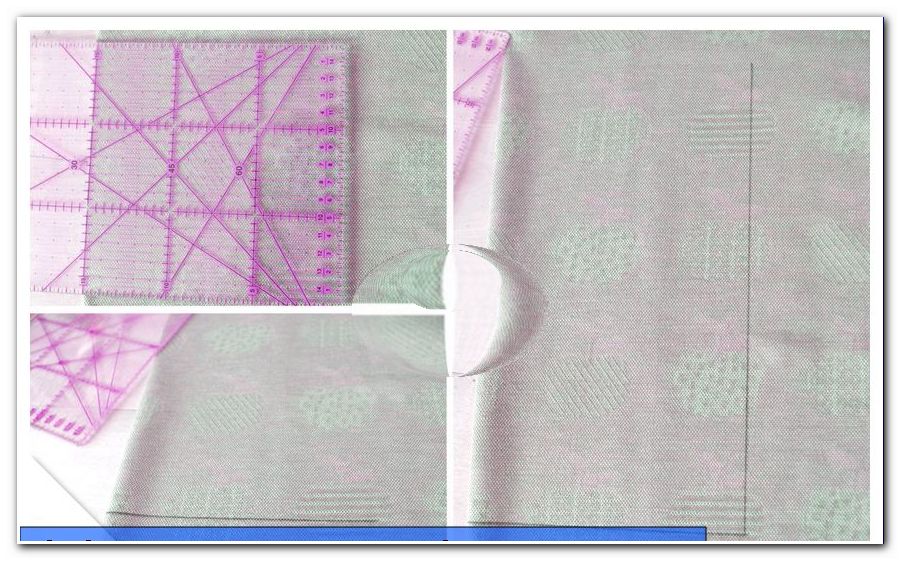
Grind the door
Old wooden doors or wooden doors in general, are sanded to get a nice and smooth surface. On the one hand, this looks good and on the other hand, it can be varnished or glazed. The more careful the procedure, the better the wood grain comes to light. In addition, the wood surface is roughened during grinding, so that at the end of the glaze or the paint holds better.

- Starting with coarse sandpaper, such as a 100 or 120 grit
- are still many coarse paint residues available to use a 40er grit
- an orbital sander does a good job here. Ideal is a device with Absaugsack, which catches the dust. So you save a lot of dirt and it is also healthier for the hobby craftsman, if he does not have to breathe the dust.
- all leftovers must now be removed. Any unevenness will be visible at the end of the door.
- then fine sanding with 180 to 200 grit
- Defective areas such as scratches and dents are repaired with wood filler or paint filler
- These parts also have to be sharpened again. Only very small scratches can be visually compensated in the end.
If you do not want to glaze or the wood grain will not be visible, you do not have to sand down all the paint and varnish layers. Important is a smooth, clean surface. If old layers adhere firmly to the door and do not peel off or they do not dissolve themselves, small paint and varnish residues can stick to it. Where paint peels off or even the wood is damaged, all layers must be removed. The quirks will then be leveled with putty material.
Paint, varnish or oil wooden doors ">paint
Paint protects wood from environmental influences and increases its durability in regular use. There are different types of paint. Colored paints are available as acrylic paint and synthetic resin paint. Convenient for apartment doors are quick-drying, water-based acrylic paints . They are low in solvents, environmentally friendly, odorless and low in pollutants.

- Paint forms a closed layer on the wood
- in the case of colored lacquer, the wood grain is invisible after treatment
- with colorless lacquer the wood structure remains visible
- High-gloss paints are more difficult to process than semi-matt or matt.
- with the high-glossy smallest errors are immediately visible.
glaze
Glaze is a wood coating. It does not cover, whereby the wood grain remains clearly visible. Glazes protect against the weather, making wood more durable and resistant. A distinction is made between thin-film and thick-film glazes. The thick- layer glaze is suitable for wooden doors, as during the treatment a paint-like film is formed on the wood surface. Especially with exterior doors, a protective layer is thus formed against the ingress of moisture.

- feeds into the wood
- protects the majority from the inside
- does not leave as smooth a surface as paint
- Wood structure remains visible, even with colored glazes
- Glaze must be approved for interiors, otherwise there is a risk of damage to health
- For glazes, you must first remove any paint or paint, otherwise they will shine through
oil
Wood oil penetrates deeply into the wood and emphasizes the natural grain. It also intensifies the hue. Untreated wood grayed, appears neglected and dries out. Wood oil is a very environmentally friendly protection for wooden doors, but it has to be applied frequently.
- Solution for the environmentally conscious
- Toxin-Free
- not weatherproof (only relevant for exterior doors)
- at least 3 to 5 layers necessary
- must be treated much more often than a painted door
Paint the door
If you have opted for a type of lacquer, ie for matt, semi-gloss or high-gloss lacquer, you can continue with the work.
Step 1 - Masking
First, the places where hinge, lock or latch were removed are glued so that no paint on it, otherwise it can happen that the parts no longer fit properly and z. B. the door does not close properly.

Step 2 - Apply primer
The smoothed door is first painted with a primer. For the door handles, small wheels are best, with a width of 5 cm and for the doors themselves, wider rollers, about 15 cm wide. On corners and wood trim, the paint brush is also the ideal choice. It is important to stir well before starting the primer. For the paint to dry well, temperatures around 20 ° C are recommended. If these are given, the primer needs about 24 hours to dry before you can continue. At cooler temperatures, it may take days for the layer to dry.
Tip: Although the outdoor painting is more pleasant, if only because of the odors, but it also carries risks. Insects that settle on the paint layers remain sticky. Therefore, it is better to work in a room, preferably with fly screens in front of the windows. It is also advisable to distribute insecticide before starting, so that really none of the small animals can ruin the work.
- Roll off the surfaces with the primer
- It is important to roll up the same layer thickness everywhere
- always roll in one direction and not wildly messed up, but best start at one end of the door and work in strips that overlap to the other side.
- The entire door is painted once opaque
- Rolling with little pressure, the amount of paint and the distribution can be better controlled, there are no noses or runners.
- Course problems can usually be compensated well, if the varnish is not too dry.
- use a new roll for each new color, ie for primer and lacquer layer
Tip: Professionals have their own way of pulling the paint on the roll. They use a larger piece of clean sturdy cardboard and spread some paint on it from the tin. With the roll, the mass is then distributed until everywhere a smooth and even layer has formed. Then you can start with the roll and record the first color. It is the cleanest way to work and extremely handy.
Step 3 - Sand the primer
The primer must be absolutely dry before starting with the varnish layer. Finger test, but in a very inconspicuous place. Next, the primer must be sanded off. When it flours, it is sufficiently dried. Grind the primer clean and flat to create a nice surface for the final coat.

Step 4 - Apply varnish
After priming, the paint can now be applied. It is important to ensure that you work evenly and do not apply too thick, so that no "noses" run. Allow the paint to dry very well.
Tip: Alternatively, a "2 in 1 window / door lacquer" can be used. This is applied in two layers.
If the door is well dried, the back is worked on the same principle. At the end, all parts are reassembled and the door is hung up.